
How to Fix Bathtub Tile?
- Sinotiles
- 2026-05-25

A loose or cracked bathtub tile can quickly turn a clean bathroom into a leaking and ugly space. Small tile damage often leads to mold, water stains, and higher repair costs later.
The best way to fix bathtub tile is to remove damaged tiles, clean the surface, apply new adhesive, and use waterproof grout and sealant. A proper repair helps stop water damage and keeps the bathroom strong and clean for years.
Many people think bathtub tile repair is difficult. In fact, most small problems can be repaired with simple tools and careful steps. The key is understanding why the tile failed in the first place. Once the root problem is clear, the repair becomes much easier and lasts much longer.
What Causes Bathtub Tiles to Loosen or Crack?
A cracked or loose tile often starts as a small problem. Many homeowners ignore one loose tile until water spreads behind the wall and damages a larger area.
Bathtub tiles usually loosen or crack because of moisture, poor adhesive, wall movement, weak installation, or low-quality materials. Constant water exposure slowly weakens the bond between the tile and the wall.
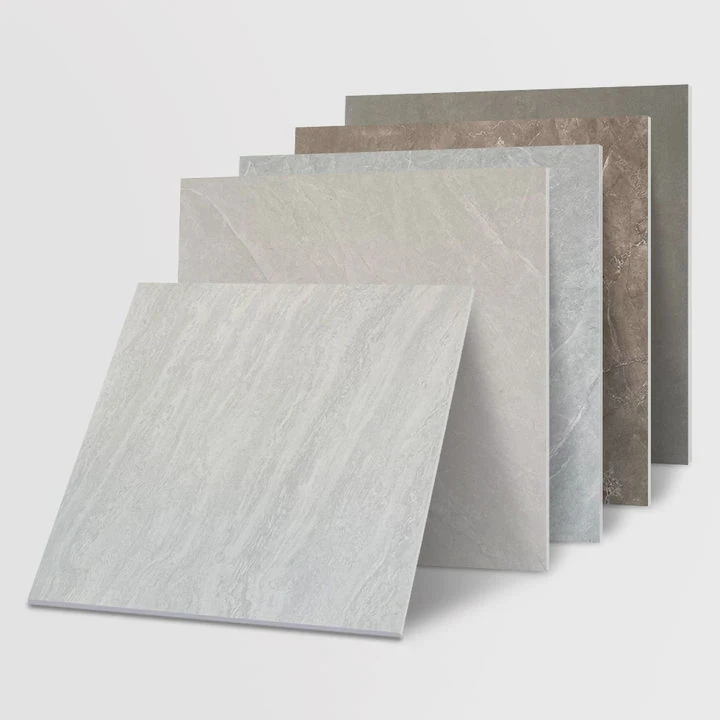
Bathroom spaces face heavy moisture every day. Bathtub walls deal with hot water, steam, soap, and temperature changes. Over time, these conditions put pressure on both the tile and the adhesive underneath.
Moisture Damage Behind Tiles
Water is the biggest enemy of bathroom tiles. When grout cracks, water enters behind the tile surface. The adhesive slowly becomes weak. This causes tiles to shift, loosen, or crack.
In many older bathrooms, waterproof layers are missing. Some installers only focus on the tile surface and forget the wall protection underneath. Once moisture reaches drywall or cement board, the wall can expand and weaken the tile bond.
Poor Adhesive Application
Many tile problems come from poor adhesive coverage. Some installers apply too little adhesive or use the wrong type for wet areas.
Here are common adhesive mistakes:
| Problem | Result |
|---|---|
| Too little adhesive | Hollow and loose tiles |
| Wrong adhesive type | Weak water resistance |
| Uneven adhesive spread | Tile cracks under pressure |
| Fast installation without curing | Tiles shift later |
A bathtub area needs strong bonding materials made for wet conditions. Cheap adhesive often fails after long-term water exposure.
Structural Movement
Buildings naturally move over time. Small wall shifts can create pressure on rigid ceramic or porcelain tiles. This pressure often causes hairline cracks.
This issue becomes worse when:
- Large format tiles are installed without expansion gaps
- The wall structure is unstable
- Old homes settle unevenly
- Temperature changes create expansion
Large porcelain tiles are popular in modern bathrooms because they reduce grout lines and create a cleaner look. Still, larger tiles require stronger support and better installation methods.
Impact and Heavy Pressure
Bathtub tiles can crack from direct impact. Dropping a heavy shower tool, metal bottle, or bathroom accessory may break the tile surface.
Some thin ceramic tiles are more fragile than full-body porcelain tiles. High-density porcelain usually performs better in wet bathroom spaces because it absorbs less water and handles pressure more effectively.
Low-Quality Materials
Tile quality matters more than many buyers expect. Low-cost tiles may look good at first but fail faster under constant moisture and cleaning chemicals.
A reliable tile should offer:
Important Features for Bathtub Tiles
| Feature | Why It Matters |
|---|---|
| Low water absorption | Helps prevent moisture damage |
| Strong surface hardness | Reduces cracking risk |
| Slip resistance | Improves bathroom safety |
| Stable dimensions | Prevents installation gaps |
| Easy cleaning surface | Reduces mold buildup |
Professional suppliers usually test tiles for water absorption, wear resistance, and surface strength before export. This quality control is very important for projects in humid areas.
Poor Maintenance Habits
Even high-quality tiles can fail without maintenance. Dirty grout lines, mold buildup, and missing sealant all allow water penetration.
Simple maintenance helps prevent repairs:
- Reapply sealant regularly
- Repair cracked grout early
- Keep ventilation strong
- Clean mold immediately
- Avoid harsh acid cleaners
Many bathroom tile failures happen slowly over several years. Early inspection can stop a small issue from becoming a full wall replacement.
How Can Adhesive Be Reapplied for Repairs?
Many people try to glue loose tiles back quickly without preparing the surface. This temporary fix often fails again within months because the old adhesive remains weak underneath.
The correct repair process includes removing the damaged tile, cleaning old adhesive completely, applying fresh waterproof adhesive evenly, and allowing enough curing time before exposure to water.
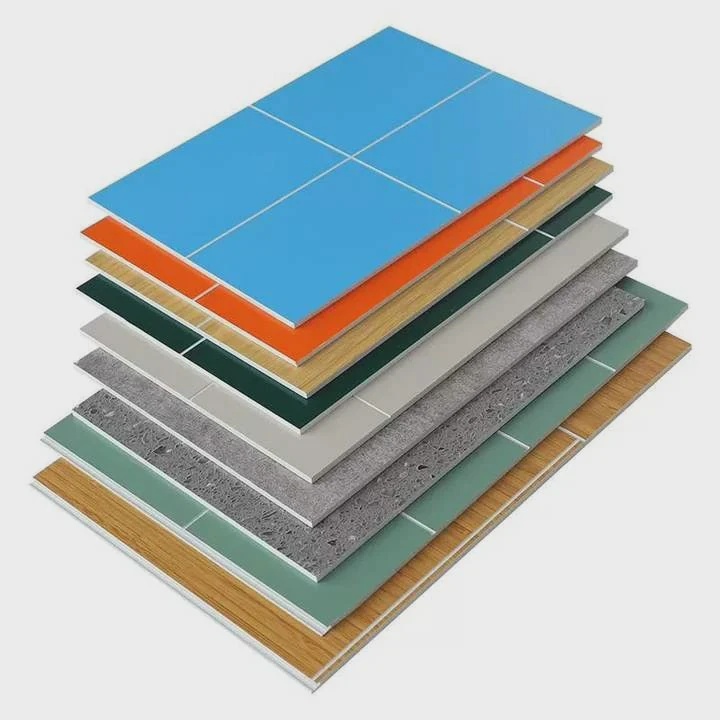
A strong repair depends more on preparation than speed. Rushing the process usually creates another repair later.
Step 1: Remove the Loose or Damaged Tile
Carefully remove the loose tile using a putty knife or chisel. Work slowly to avoid damaging nearby tiles.
If the tile is cracked badly, wear gloves and eye protection because sharp ceramic pieces can break apart quickly.
After removing the tile, inspect the wall behind it. Check for:
- Mold
- Soft drywall
- Water stains
- Loose backing board
- Remaining adhesive buildup
If the wall underneath is damaged, repair the substrate first before reinstalling new tile.
Step 2: Clean the Surface Completely
This step is extremely important. Old adhesive prevents proper bonding.
Use a scraper or oscillating tool to remove all old mortar or glue from both:
- The wall surface
- The back of reusable tiles
The surface should become flat, clean, and dry.
Common Surface Problems Before Reinstallation
| Surface Issue | Repair Method |
|---|---|
| Old adhesive lumps | Scrape smooth |
| Damp wall surface | Dry fully before repair |
| Mold growth | Clean and disinfect |
| Cracked cement board | Replace damaged section |
| Dust and debris | Vacuum thoroughly |
Skipping surface preparation is one of the biggest reasons repairs fail.
Step 3: Choose the Correct Adhesive
Not every adhesive works inside wet bathrooms.
For bathtub tile repairs, waterproof thin-set mortar usually performs better than general wall glue. High-moisture environments need stronger bonding materials.
Common Adhesive Options
| Adhesive Type | Suitable for Bathtub Areas? |
|---|---|
| Organic mastic | Limited use |
| Cement thin-set mortar | Yes |
| Epoxy adhesive | Excellent |
| General construction glue | No |
Epoxy adhesives provide excellent water resistance and strong bonding strength. Still, they are harder to apply and clean. Many professional installers prefer polymer-modified thin-set mortar because it balances strength and workability.
Step 4: Apply Adhesive Properly
Use a notched trowel to spread adhesive evenly. Full coverage is important.
Avoid air pockets behind the tile. Hollow spaces trap moisture and weaken support.
Press the tile firmly into place with slight twisting pressure. Use tile spacers if needed to maintain equal grout lines.
Step 5: Allow Proper Curing Time
Many repairs fail because homeowners expose the area to water too early.
Each adhesive has a curing time recommended by the manufacturer. Some products require 24 to 72 hours before water exposure.
Do not rush this step.
Step 6: Regrout and Seal
After the adhesive cures, apply waterproof grout carefully around the tile edges.
Once grout dries fully, apply sealant to help block future moisture penetration.
A proper seal helps extend the life of the entire bathtub wall system.
Why Professional Installation Standards Matter
In export markets, especially for hotels and apartments, long-term durability matters more than short-term cost savings.
Many contractors now prefer porcelain bathroom tiles because they provide:
- Better moisture resistance
- Lower water absorption
- Stronger surface durability
- Easier maintenance
- Longer service life
Modern bathroom projects also increasingly use larger tile sizes such as 600x1200mm and 750x1500mm because they reduce grout lines and create a cleaner waterproof surface.
Why Use Waterproof Materials for Bathtub Tiles?
Many bathroom tile problems begin underneath the surface where water slowly damages the wall system. Waterproof materials help stop this hidden damage before it spreads.
Waterproof materials protect bathtub walls from moisture penetration, mold growth, adhesive failure, and structural damage. They greatly improve tile durability and reduce long-term repair costs.
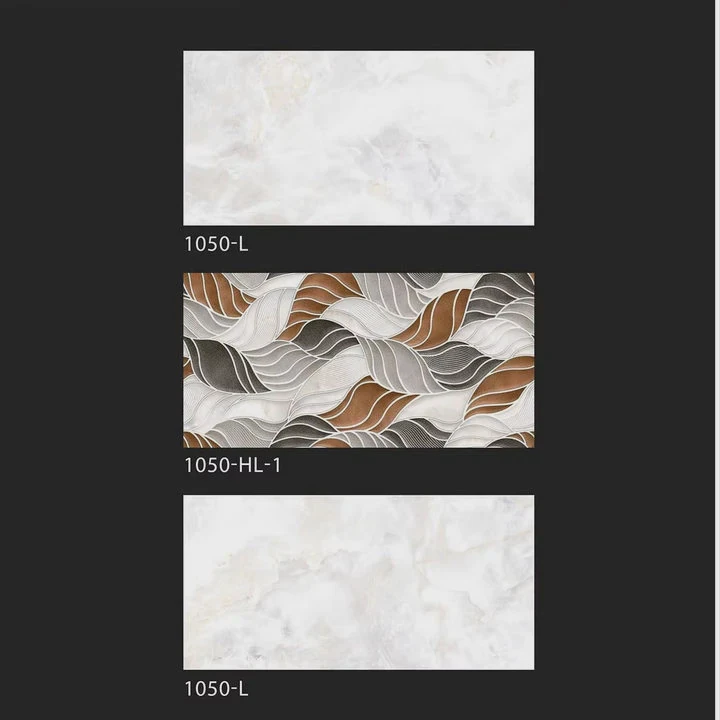
Bathrooms are constantly exposed to moisture. Even small amounts of water entering behind tiles can create serious long-term problems.
Waterproofing Protects the Entire Wall System
Some people believe tiles themselves fully block water. This is not true.
Grout lines and tiny gaps still allow moisture penetration over time. Waterproof systems work as a second protection layer behind the tiles.
A complete waterproof installation usually includes:
- Waterproof membrane
- Moisture-resistant adhesive
- Waterproof grout
- Silicone sealant
- Low-absorption tiles
Without these layers, water slowly damages the wall structure behind the tile.
Mold and Mildew Prevention
Warm and wet bathroom conditions create the perfect environment for mold growth.
Once moisture becomes trapped behind tiles, mold spreads quickly inside walls. This creates:
| Problem | Effect |
|---|---|
| Mold growth | Health risks |
| Wall damage | Expensive repairs |
| Bad odor | Poor bathroom environment |
| Adhesive failure | Loose tiles |
| Wood rot | Structural weakening |
Waterproof materials help keep moisture out and reduce mold risk significantly.
Better Long-Term Durability
Waterproof systems increase the lifespan of bathroom tile installations.
This matters greatly for:
- Hotels
- Apartments
- Commercial projects
- Rental properties
- Luxury homes
Frequent repairs increase maintenance costs and disrupt normal use. Durable waterproof installations save money over many years.
Why Porcelain Tiles Work Well in Wet Areas
Porcelain tiles are often preferred for bathtub walls because they absorb very little water compared to standard ceramic tiles.
Comparison of Bathroom Tile Materials
| Material | Water Absorption | Durability |
| Ceramic tile | Moderate |
| Porcelain tile | Very low |
| Natural stone | Varies |
| Mosaic glass tile | Very low |
Low water absorption helps reduce cracking, staining, and moisture penetration.
Modern glazed porcelain tiles also provide many design styles such as:
- Marble look
- Stone look
- Concrete look
- Wood look
- Minimalist matte finishes
This allows bathroom projects to combine both performance and appearance.
Waterproof Grout and Sealants Matter Too
Many tile repairs happen because installers focus only on the tile itself and ignore grout quality.
Cheap grout absorbs water quickly. Over time, it cracks and allows moisture penetration.
Epoxy grout performs better in wet conditions because it resists:
- Water absorption
- Mold buildup
- Chemical cleaners
- Staining
Silicone sealant is also important around bathtub corners and movement joints. Flexible sealant handles expansion better than hard grout.
Large Tiles Help Reduce Water Entry Points
Modern bathrooms increasingly use large format porcelain tiles because fewer grout lines mean fewer places for water to enter.
Large slabs also create a cleaner and more luxurious appearance.
Popular bathtub wall sizes include:
- 600x1200mm
- 750x1500mm
- 900x1800mm
These larger tiles help simplify cleaning and reduce mold buildup along grout joints.
Waterproofing Is an Investment
Some buyers focus only on the lowest material price. However, low-cost waterproof systems often create expensive future repairs.
A stronger waterproof system usually delivers:
- Longer tile lifespan
- Lower maintenance costs
- Better hygiene
- Improved appearance
- Higher property value
This becomes especially important in commercial projects where long-term durability directly affects operating costs.
Conclusion
Bathtub tile repair becomes much easier when the root problem is identified early. Strong adhesive, proper waterproofing, and quality porcelain tiles help create a durable bathroom that stays clean, safe, and attractive for many years.


