
How to Get Tile Off Floor?
- Sinotiles
- 2026-05-25

Removing old floor tiles sounds simple at first. Many people start the job without planning and quickly face broken tools, damaged floors, and heavy dust. The work becomes slow, messy, and tiring.
The best way to remove floor tiles is to use the right tools, follow safe methods, and clear adhesive step by step. Careful preparation saves time, protects the subfloor, and makes the whole project easier.
Old floor tiles can hide strong adhesive, uneven surfaces, and damaged underlayers. Some tiles come off in minutes, while others fight back for hours. That is why preparation matters before the first tile is lifted. Good tools, safe habits, and smart techniques help reduce labor and avoid costly mistakes.
What Tools Are Required to Remove Floor Tiles?
Removing floor tiles without proper tools often leads to cracked subfloors, slow progress, and physical strain. Many beginners underestimate how strong tile adhesive can be. A small mistake can turn a weekend project into days of repair work.
The most important tools for removing floor tiles include a hammer, pry bar, floor scraper, chisel, power hammer, and protective equipment. The right combination depends on tile size, adhesive strength, and floor condition.
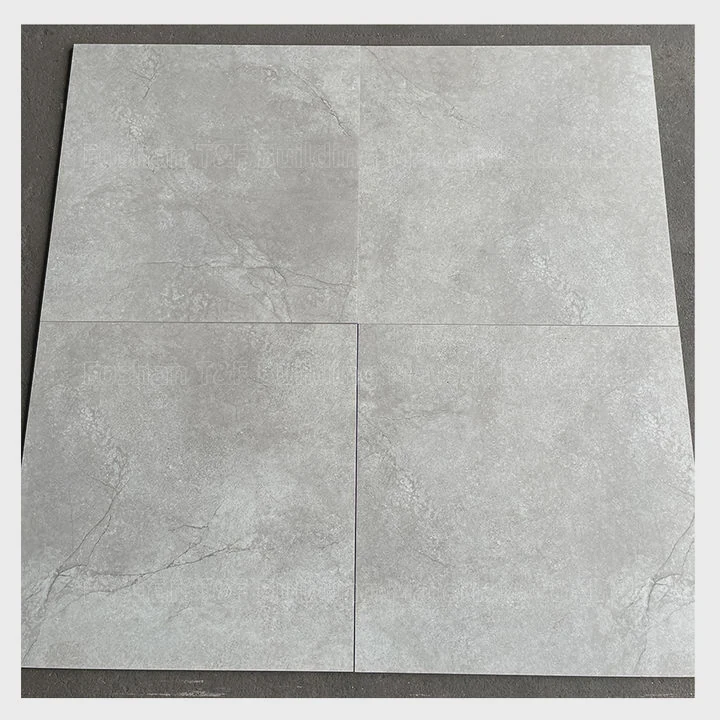
Many years in the tile industry have shown how much the correct tool affects efficiency. Some tiles pop out easily with hand tools. Others need electric demolition equipment. The condition of the floor also changes the tool choice.
Basic Hand Tools
For small areas or loose tiles, hand tools often work well. These tools are affordable and easy to control.
| Tool | Main Purpose | Best For |
|---|---|---|
| Hammer | Break tiles | Small jobs |
| Cold chisel | Lift tile edges | Tight spaces |
| Pry bar | Remove stubborn pieces | Thick tiles |
| Floor scraper | Remove adhesive | Surface cleanup |
| Utility knife | Cut grout lines | Prevent cracking |
A hammer and chisel are usually the starting point. The chisel slides under the tile edge after grout lines are cut. Gentle tapping breaks the bond between tile and floor.
Power Tools for Faster Work
Large projects require more power. Manual removal becomes exhausting when hundreds of tiles are involved.
Common power tools include:
- Rotary hammer
- Demolition hammer
- Oscillating multi-tool
- Angle grinder
- Electric floor scraper
A rotary hammer with a tile chisel attachment removes tiles much faster. It reduces arm fatigue and speeds up commercial projects. Many contractors prefer this method in hotels, shopping centers, and large homes.
Subfloor Inspection Tools
Tile removal does not end when the tile is gone. The subfloor must remain smooth and stable.
Useful inspection tools include:
- Straight edge
- Moisture meter
- Vacuum cleaner
- Flashlight
These tools help identify cracks, moisture damage, and uneven spots before installing new flooring.
Choosing Tools Based on Tile Type
Different tiles behave differently during removal.
| Tile Type | Removal Difficulty | Recommended Tool |
|---|---|---|
| Ceramic tile | Moderate | Hammer + chisel |
| Porcelain tile | Hard | Rotary hammer |
| Mosaic tile | Moderate | Floor scraper |
| Large-format tile | Hard | Demolition hammer |
Porcelain tiles are denser and stronger than ceramic tiles. Large-format tiles also create stronger bonding pressure because of their wider surface area.
Dust Control Matters
Tile removal creates fine dust quickly. Dust spreads across rooms and affects air quality. Professional crews often use:
- HEPA vacuums
- Plastic barriers
- Dust shrouds
- Air fans
These tools keep workspaces cleaner and safer.
Tool Quality Saves Time
Cheap tools often bend or break during heavy demolition. Reliable tools reduce downtime and improve safety. Strong steel chisels and durable scrapers make a major difference in long projects.
Many experienced contractors invest more in demolition tools because labor costs are higher than tool costs over time.
How Can Adhesive Residue Be Cleared Effectively?
Many people think tile removal ends after lifting the tiles. The real challenge often begins with adhesive residue. Thick glue left behind can stop new flooring from sitting flat and stable.
Adhesive residue can be removed effectively by scraping, softening with heat or chemicals, grinding stubborn spots, and cleaning the surface carefully before installing new flooring.
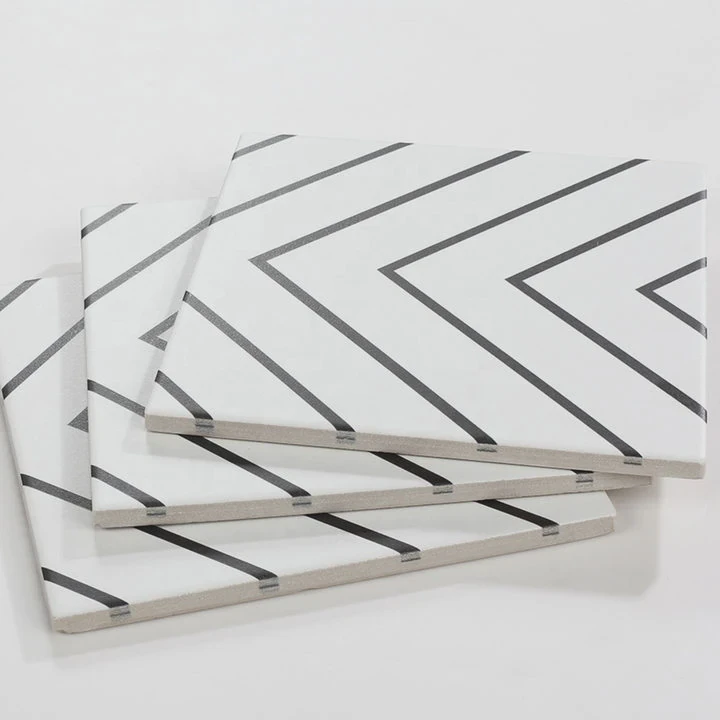
Adhesive strength depends on the installation method, tile type, and adhesive age. Some glue becomes brittle over time. Other adhesives remain flexible and extremely sticky even after years.
Start with Mechanical Scraping
Scraping is usually the first step.
Common scraping tools include:
- Long-handled floor scraper
- Razor scraper
- Oscillating scraper blade
- Electric floor stripper
Wide scrapers help remove large adhesive sections quickly. Smaller razor scrapers work better near corners and walls.
Heat Helps Soften Adhesive
Some adhesives soften under heat. A heat gun can loosen glue and reduce scraping effort.
This method works best for:
- Vinyl-based adhesives
- Thin adhesive layers
- Small residential repairs
Heat should be used carefully because overheating may damage wood subfloors.
Adhesive Removers for Tough Jobs
Chemical adhesive removers help dissolve stubborn residue.
| Adhesive Type | Recommended Removal Method |
|---|---|
| Thin-set mortar | Grinding |
| Vinyl glue | Heat + scraper |
| Epoxy adhesive | Chemical remover |
| Mastic adhesive | Solvent cleaner |
Good ventilation is important when using chemicals. Some removers produce strong fumes.
Grinding Creates Smooth Surfaces
Grinding is often necessary for hard thin-set mortar. Contractors use concrete grinders with diamond grinding cups.
This process:
- Levels uneven areas
- Removes stubborn mortar
- Prepares surfaces for new tile
Dust collection systems are very important during grinding.
Check the Subfloor Carefully
After adhesive removal, the subfloor must be inspected closely.
Look for:
- Cracks
- Moisture damage
- Hollow spots
- Uneven surfaces
Skipping this step can cause future tile failure.
Surface Cleaning Before New Installation
A clean floor improves bonding strength for new tiles.
Professional installers usually:
- Vacuum all dust
- Wipe surfaces clean
- Repair damaged areas
- Apply leveling compound if needed
This process creates a stable foundation for new flooring.
Adhesive Removal Takes Patience
Many flooring problems come from rushed adhesive cleanup. Uneven adhesive causes loose tiles, cracked grout, and hollow sounds after installation.
Careful preparation often determines whether a tile project lasts five years or twenty years.
Why Wear Safety Gear During Tile Removal?
Tile removal may look like simple demolition work, but it carries real safety risks. Flying tile shards, heavy dust, sharp edges, and loud tools can easily cause injury without proper protection.
Safety gear protects against dust inhalation, eye injuries, cuts, hearing damage, and impact injuries during floor tile removal. Proper protection reduces both short-term accidents and long-term health risks.
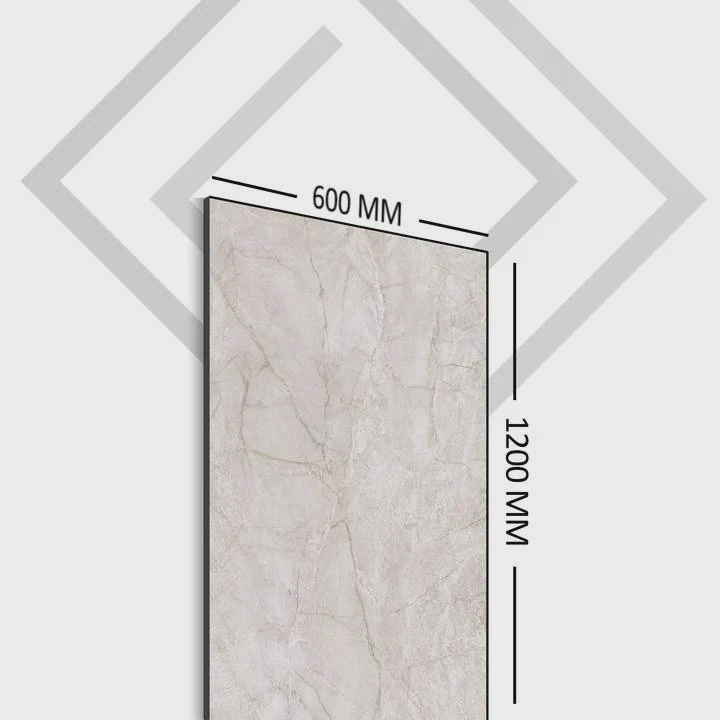
Many accidents happen because people rush into demolition without preparation. Safety gear may feel uncomfortable at first, but it prevents serious problems later.
Eye Protection Is Essential
Broken tiles create sharp fragments that fly in random directions.
Safety glasses protect against:
- Tile chips
- Dust particles
- Flying adhesive pieces
Even small tile fragments can damage eyesight permanently.
Dust Masks Protect the Lungs
Tile removal creates large amounts of fine dust. Old mortar and grout may contain silica particles. Breathing silica dust repeatedly can damage lungs over time.
Common respiratory protection includes:
- N95 masks
- Half-face respirators
- Dust-filter cartridges
Professional crews often use stronger respirators in large demolition projects.
Gloves Reduce Hand Injuries
Tile edges become extremely sharp after breaking.
Good work gloves help prevent:
- Deep cuts
- Blisters
- Hand fatigue
Heavy-duty gloves also improve grip on tools.
Hearing Protection Matters
Power demolition tools produce very loud noise.
| Tool | Noise Level Risk |
|---|---|
| Rotary hammer | High |
| Grinder | Very high |
| Hammer and chisel | Moderate |
| Demolition hammer | Very high |
Earplugs or earmuffs help reduce long-term hearing damage.
Knee Protection Helps During Long Projects
Tile removal often requires kneeling for hours. Knee pads reduce pressure and improve comfort.
This becomes especially important during:
- Bathroom renovations
- Kitchen remodeling
- Small room demolition
Long kneeling periods can cause joint pain later.
Proper Footwear Prevents Accidents
Broken tile pieces create slippery and sharp surfaces.
Strong work boots help protect against:
- Falling tile pieces
- Sharp debris
- Nail punctures
Slip-resistant soles improve stability on dusty floors.
Safety Improves Efficiency
Workers move more confidently when properly protected. Fear of injury slows productivity and increases mistakes.
Professional crews always prioritize:
- Dust control
- Eye protection
- Stable footing
- Controlled tool handling
Safe work habits also reduce cleanup time and project delays.
Hidden Risks in Older Buildings
Older floors may contain unexpected hazards such as:
- Mold
- Water damage
- Asbestos-containing materials
- Weak subfloors
Safety gear provides extra protection when conditions are uncertain.
Which Techniques Speed Up Floor Tile Removal?
Tile removal can become painfully slow without the right approach. Many people waste hours breaking tiles into tiny pieces because they start incorrectly or use weak methods.
The fastest tile removal techniques include breaking the first tile strategically, using power tools, working in sections, loosening grout lines first, and maintaining steady removal angles.
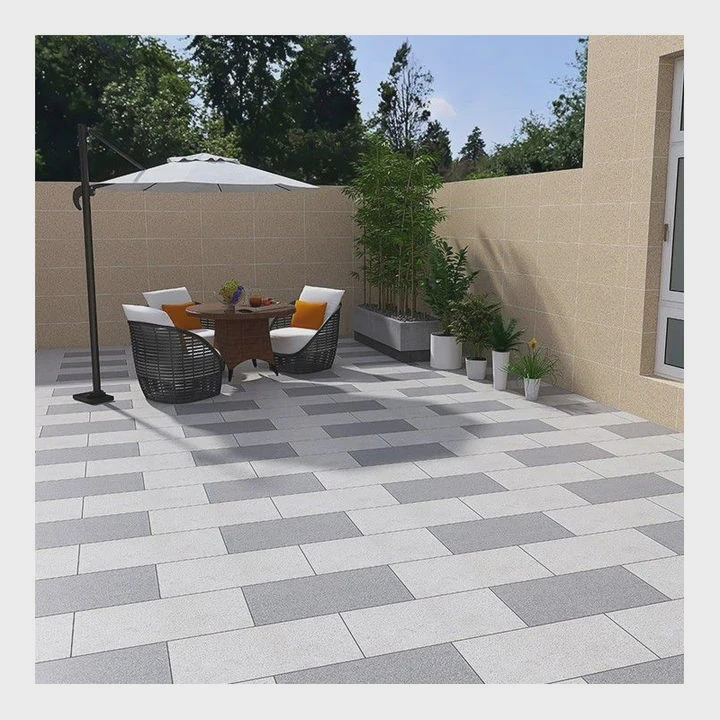
Professional demolition crews focus heavily on workflow. Small changes in technique often save many hours on large flooring projects.
Start at Weak Points
The first tile is usually the hardest to remove. After that, surrounding tiles loosen more easily.
Best starting points include:
- Doorways
- Damaged tile edges
- Loose corners
- Floor transitions
Breaking the first tile creates access beneath nearby tiles.
Remove Grout First
Grout locks tiles together tightly. Removing grout weakens the tile system.
Common grout removal tools include:
- Oscillating multi-tool
- Grout saw
- Rotary grout tool
This step reduces cracking resistance and helps tiles lift faster.
Use the Correct Chisel Angle
Tool angle affects removal speed greatly.
| Chisel Angle | Result |
|---|---|
| Too steep | Damages subfloor |
| Too flat | Weak lifting force |
| Moderate angle | Best tile separation |
Experienced workers maintain a shallow forward angle to slide beneath tiles smoothly.
Work in Small Sections
Large demolition areas become harder to control. Dividing floors into sections improves efficiency.
A common process looks like this:
- Clear one section
- Remove debris
- Scrape adhesive
- Move to next area
This method keeps the workspace organized and safer.
Power Tools Save Massive Time
Manual tile removal becomes slow on commercial floors.
Contractors often use:
- Demolition hammers
- Electric scrapers
- Ride-on floor removers
Large ride-on removers are common in shopping malls, hotels, and airports.
Tile Heating Can Loosen Bond Strength
In some cases, warming tiles softens adhesive beneath them.
Heat methods may help with:
- Vinyl-backed tiles
- Older glue systems
- Thin adhesive layers
This technique works best in controlled residential environments.
Keep the Workspace Clean
Debris slows movement and creates hazards. Fast crews clean constantly during removal.
Good cleanup habits include:
- Removing broken tile piles quickly
- Vacuuming dust regularly
- Stacking tools neatly
An organized site reduces accidents and wasted motion.
Understand the Subfloor Type
Different subfloors require different removal pressure.
| Subfloor Type | Removal Challenge |
|---|---|
| Concrete | Strong but dusty |
| Plywood | Easier to damage |
| Cement board | Moderate difficulty |
| Old mortar bed | Very hard |
Understanding the subfloor prevents costly repairs later.
Patience Often Increases Speed
Rushing usually breaks tiles into smaller fragments. Smaller pieces take longer to remove. Controlled force and steady movement often finish jobs faster than aggressive demolition.
Experienced installers know that efficiency comes from rhythm, not brute strength.
Conclusion
Removing floor tiles becomes much easier with proper tools, safe work habits, smart adhesive cleanup, and efficient removal techniques. Careful preparation protects the subfloor, saves labor time, and creates a smoother path for installing new flooring successfully.



