
How to Put Ceramic Tile in Bathroom?
- Sinotiles
- 2026-05-04

Bathrooms often face water, mold, and cracks. Many people worry about tiles falling off or leaking. The problem feels complex and risky.
Yes, ceramic tiles can be installed in a bathroom with the right steps, tools, and planning. Proper surface prep, waterproofing, material choice, and timing are key to a long-lasting result.
A clear method makes the process easier. Each step builds on the last one, so skipping details often leads to failure. This guide walks through each stage in a simple way.
What preparation is needed before bathroom tiling?
Bathrooms often hide problems under old surfaces. Uneven walls, dust, or moisture can ruin tile adhesion. Many projects fail before tiles are even placed.
Preparation includes cleaning, leveling the surface, checking moisture, and planning tile layout. A stable and dry base ensures tiles stick well and last longer.

Before any tile touches the wall or floor, the surface must be ready. This step decides the final quality.
Surface inspection and cleaning
Every surface must be checked carefully. Old paint, grease, or dust reduces bonding strength. A clean surface gives better adhesion.
- Remove old tiles or coatings
- Clean dust, oil, and debris
- Repair cracks or holes
If the wall is weak or flaky, tiles will not stay in place.
Leveling and smoothing
A flat surface is critical. Even small bumps can cause uneven tiles.
| Problem | Solution |
|---|---|
| Uneven wall | Use cement mortar |
| Small holes | Apply filler |
| Rough surface | Sand or smooth it |
Leveling reduces tile breakage and improves appearance.
Moisture check
Bathrooms deal with constant water exposure. If moisture exists behind the surface, it leads to mold and tile failure.
- Check damp areas
- Let surfaces dry fully
- Use moisture-resistant boards if needed
Tile layout planning
Planning avoids mistakes during installation. It helps reduce cutting and waste.
- Measure the area
- Mark center lines
- Dry lay tiles before fixing
This step ensures symmetry and balance.
Tools preparation
Using the right tools improves speed and accuracy.
| Tool | Use |
|---|---|
| Tile cutter | Cutting tiles |
| Notched trowel | Spreading adhesive |
| Level tool | Keeping tiles straight |
| Spacers | Even tile gaps |
Good preparation saves time and reduces errors later.
How do you ensure waterproofing in bathrooms?
Water damage is the biggest risk in bathrooms. Without protection, leaks can destroy walls and floors. Many people ignore this step and face costly repairs.
Waterproofing involves applying membranes, sealing joints, and protecting corners. It creates a barrier that prevents water from reaching the structure underneath.
Waterproofing is not optional. It is a must for durability and safety.
Waterproof membrane application
A waterproof membrane acts as a shield. It blocks water from penetrating surfaces.
There are two common types:
- Liquid membrane (paint-on)
- Sheet membrane (roll-on)
Liquid membranes are easier for small areas. Sheet membranes offer strong protection for large spaces.
Focus on critical areas
Some zones are more exposed to water:
- Shower walls
- Floor corners
- Around drains
These areas need extra care.
Sealing joints and corners
Water often enters through gaps. Sealing these areas is essential.
- Use waterproof tape on joints
- Apply sealant on corners
- Reinforce edges
Drain slope design
The floor must guide water toward the drain. Poor slope leads to standing water.
| Area | Recommended Slope |
|---|---|
| Shower floor | 1–2% incline |
| Bathroom floor | Slight slope to drain |
A proper slope improves drainage and hygiene.
Testing waterproof layer
Before tiling, testing ensures no leaks exist.
- Fill area with water
- Wait 24 hours
- Check for leakage
This simple test prevents major problems later.
Which materials are best for ceramic tiles?
Choosing the wrong materials leads to cracks, stains, or weak bonding. Many buyers focus only on tile design and ignore technical quality.
The best materials include high-quality ceramic tiles, strong adhesive, proper grout, and reliable sealant. Each component plays a role in durability and performance.

Material selection affects both function and appearance.
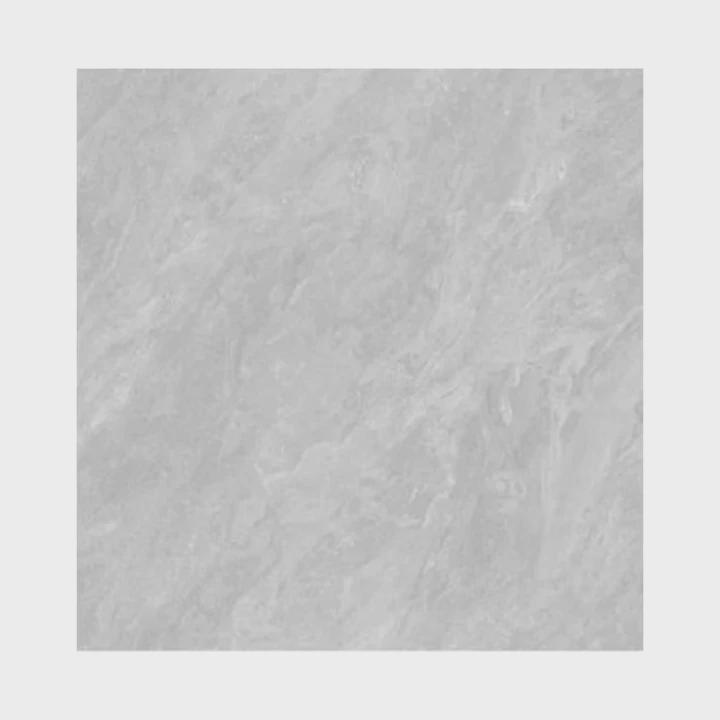
Types of ceramic tiles
Not all ceramic tiles are the same. Some are better for walls, others for floors.
| Tile Type | Best Use | Feature |
|---|---|---|
| Glazed tile | Walls | Smooth and decorative |
| Porcelain tile | Floors | Strong and low absorption |
| Matte tile | Wet areas | Anti-slip surface |
Porcelain tiles are often preferred for bathroom floors due to strength.
Tile adhesive selection
Adhesive holds tiles in place. A poor adhesive leads to tiles falling off.
Types include:
- Cement-based adhesive
- Ready-mix adhesive
Cement-based adhesive works well in wet environments.
Grout selection
Grout fills the gaps between tiles. It prevents water entry and improves look.
- Cement grout: common and cost-effective
- Epoxy grout: stronger and water-resistant
Epoxy grout is better for bathrooms but costs more.
Sealant importance
Sealant protects edges and joints.
- Silicone sealant is widely used
- It remains flexible and waterproof
Matching materials with environment
Each bathroom has different needs. High-use areas require stronger materials.
Material comparison table
| Material | Strength | Water Resistance | Cost Level |
|---|---|---|---|
| Ceramic tile | Medium | Medium | Low |
| Porcelain tile | High | High | Medium |
| Epoxy grout | High | Very High | High |
| Cement grout | Medium | Medium | Low |
Choosing the right mix improves lifespan and reduces maintenance.
When should grout and sealant be applied?
Timing mistakes can ruin a tile job. Applying grout too early or sealant too late creates weak joints and leaks.
Grout should be applied after adhesive fully cures, usually 24 hours later. Sealant is applied after grouting to protect joints and edges from water.

Correct timing ensures strong bonding and waterproofing.
When to apply grout
After tiles are fixed, adhesive needs time to set.
- Wait at least 24 hours
- Ensure tiles are stable
- Clean gaps before grouting
Applying grout too early can shift tiles.
Grouting process
Steps include:
- Mix grout properly
- Apply using a rubber float
- Fill all joints evenly
- Remove excess grout
After application, clean tile surfaces with a damp sponge.
Drying and curing
Grout needs time to cure.
- Initial drying: 24 hours
- Full curing: several days
Avoid water exposure during this time.
Applying sealant
Sealant is used after grout cures.
- Apply on corners and edges
- Focus on joints near water areas
- Smooth with a tool or finger
Maintenance after sealing
Proper care extends tile life.
- Avoid heavy use for a few days
- Clean regularly
- Reapply sealant when needed
Common mistakes to avoid
| Mistake | Result |
|---|---|
| Early grouting | Loose tiles |
| Skipping sealant | Water leakage |
| Poor cleaning | Stained tiles |
Correct timing improves both strength and appearance.
Conclusion
Installing ceramic tiles in a bathroom requires careful preparation, proper waterproofing, suitable materials, and correct timing. Each step matters. When done right, the result is durable, safe, and visually clean.


