
How to Replace Tile Flooring?
- Sinotiles
- 2026-04-10
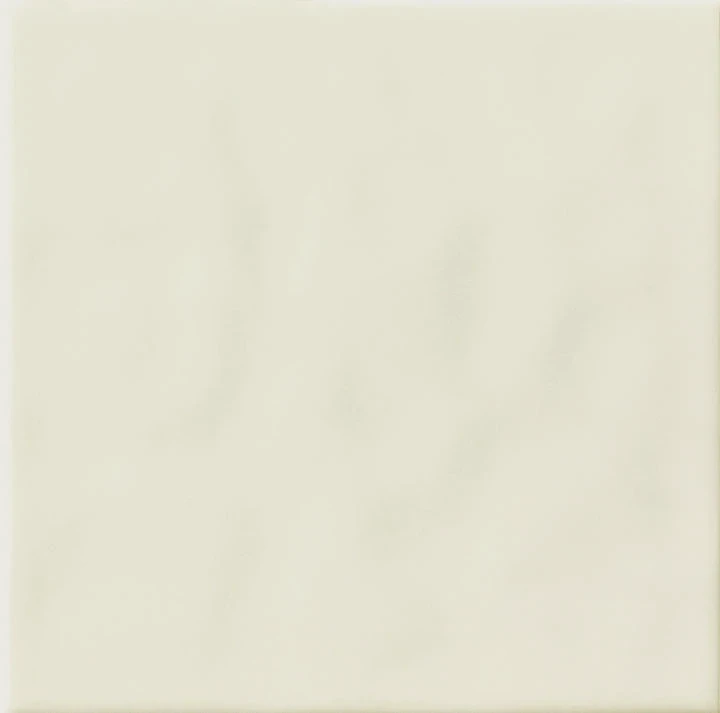
Old tile floors can crack, stain, and loosen over time. This makes any space look outdated and unsafe.
Replacing tile flooring involves removing old tiles, preparing the surface, installing new tiles, and finishing with grout and sealant for durability.
Many people think tile replacement is complex. In reality, it becomes manageable with the right steps and materials.
What steps are involved in replacing tile floors?
Tile replacement often feels overwhelming. Without a clear plan, mistakes happen easily.
The main steps include removing old tiles, preparing the subfloor, laying new tiles, and finishing with grout and sealing for long-term performance.
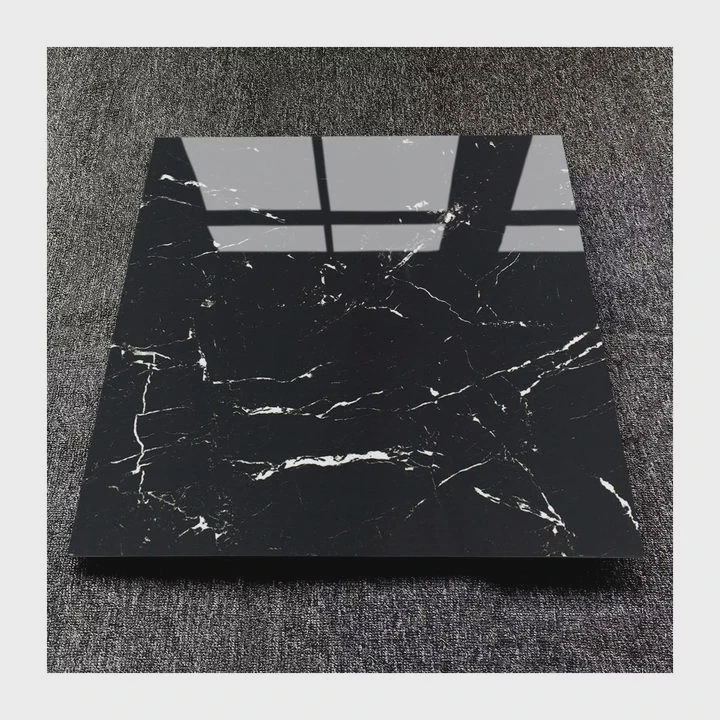
A structured process ensures better results. Skipping steps leads to uneven floors and weak adhesion.
Step-by-step tile replacement process
1. Remove old tiles
Use a hammer and chisel or a demolition tool. Start from loose tiles and work outward.
2. Clean and prepare the subfloor
Remove old adhesive and debris. The surface must be flat and clean.
3. Plan the layout
Dry-lay tiles before fixing them. This helps avoid uneven cuts and poor alignment.
4. Apply adhesive
Spread tile adhesive evenly using a notched trowel.
5. Install new tiles
Place tiles carefully and press firmly. Use spacers to maintain even gaps.
6. Allow curing time
Let the adhesive set for at least 24 hours before walking on it.
7. Apply grout and seal
Fill joints with grout and seal for protection.
Key process overview
| Step | Purpose |
|---|---|
| Tile removal | Clear old surface |
| Surface prep | Ensure proper bonding |
| Layout planning | Improve alignment |
| Tile installation | Create new surface |
| Grouting & sealing | Protect and finish |
Common mistakes
- Skipping surface leveling
- Rushing installation
- Misaligned tiles
Practical insight
In many large projects, professionals spend more time on preparation than installation. A well-prepared base ensures long-term durability.
This step defines the final quality of the floor.
How do you remove old tiles without damage?
Removing tiles can damage the subfloor if done incorrectly. This creates more work later.
To remove old tiles without damage, use controlled force, start from weak points, and carefully separate tiles from adhesive layers.
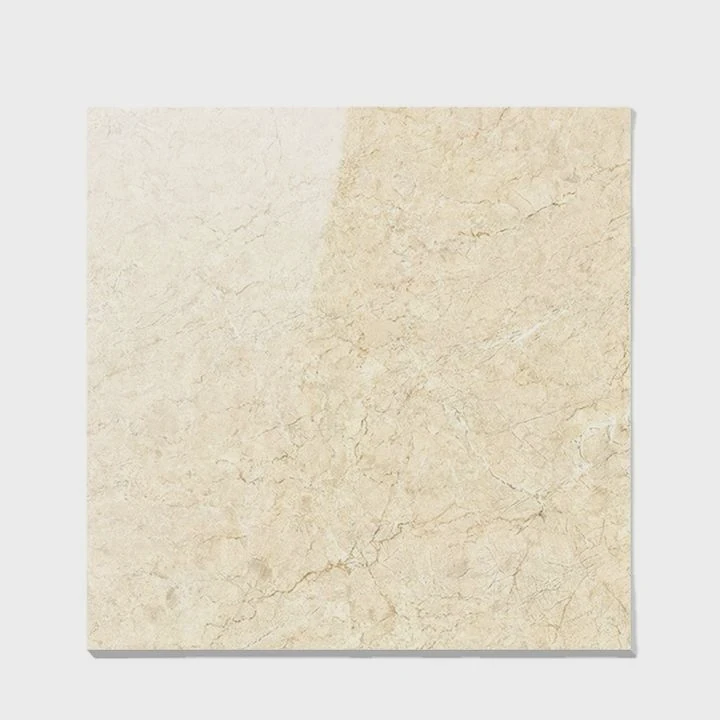
Tile removal requires patience. Aggressive methods often cause unnecessary damage.
Safe tile removal steps
1. Identify loose tiles
Loose tiles are easier to remove and provide a starting point.
2. Use proper tools
- Hammer and chisel
- Pry bar
- Floor scraper
3. Apply controlled force
Tap gently under the tile edge. Avoid hitting directly downward.
4. Remove adhesive residue
After tile removal, scrape off old adhesive carefully.
Tools and their uses
| Tool | Function |
|---|---|
| Chisel | Lifts tiles from edges |
| Hammer | Applies controlled force |
| Pry Bar | Removes stubborn tiles |
| Floor Scraper | Cleans adhesive residue |
Tips to avoid damage
- Work slowly in small sections
- Keep tools at a low angle
- Avoid deep impact on subfloor
Common risks
- Cracking the subfloor
- Damaging waterproof layers
- Creating uneven surfaces
Advanced considerations
For large areas, power tools like demolition hammers may be used. However, they require experience to avoid damage.
Practical experience
In renovation projects, careful removal reduces repair costs. Damaging the subfloor can double the workload.
A slow and controlled approach saves both time and money in the long run.
Which materials are needed for new installation?
Using the wrong materials leads to weak floors and early failure.
The essential materials include tiles, adhesive, grout, spacers, and sealant, along with preparation materials like leveling compounds if needed.
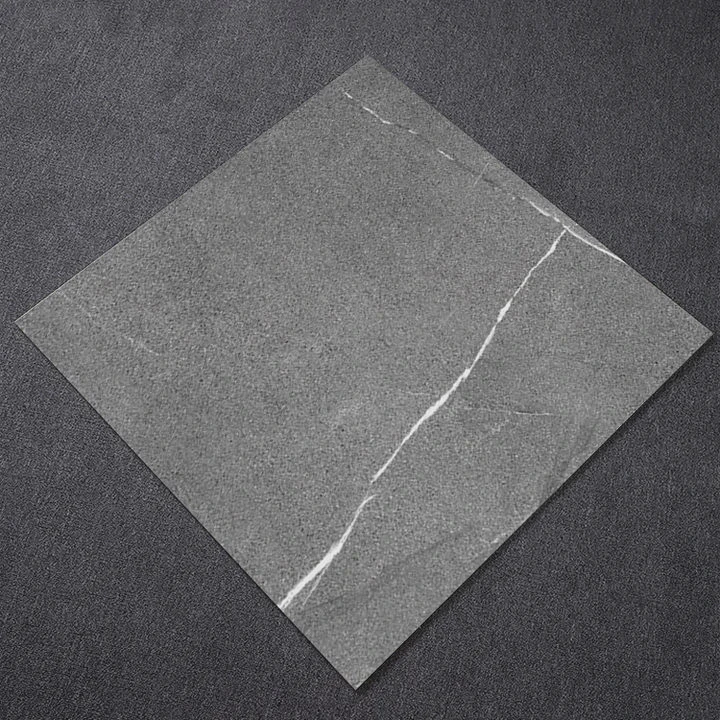
Material selection directly affects durability and appearance.
Core materials list
| Material | Purpose |
|---|---|
| Ceramic/Porcelain Tile | Floor surface |
| Tile Adhesive | Bonds tile to subfloor |
| Grout | Fills gaps between tiles |
| Tile Spacers | Maintains even spacing |
| Sealant | Protects grout from moisture |
Additional materials
- Self-leveling compound for uneven floors
- Waterproof membrane for wet areas
- Edge trims for finishing
Choosing the right tile
Factors to consider:
- Durability for foot traffic
- Slip resistance
- Size and design
Adhesive selection
Different adhesives suit different tiles:
- Thin-set mortar for most tiles
- Flexible adhesive for large tiles
Material compatibility
All materials must work together:
- Tile + adhesive compatibility
- Grout suitable for joint width
- Sealant matching grout type
Common mistakes
- Using low-quality adhesive
- Ignoring floor leveling
- Choosing wrong grout type
Practical insight
In large supply projects, consistent material quality ensures fewer installation issues. Reliable materials reduce callbacks and repairs.
This is critical for contractors handling multiple projects.
When should grout and sealant be applied?
Timing errors can weaken the entire installation. Many failures come from rushing this stage.
Grout should be applied after adhesive cures (usually 24 hours), and sealant should be applied after grout fully dries, typically 48-72 hours later.
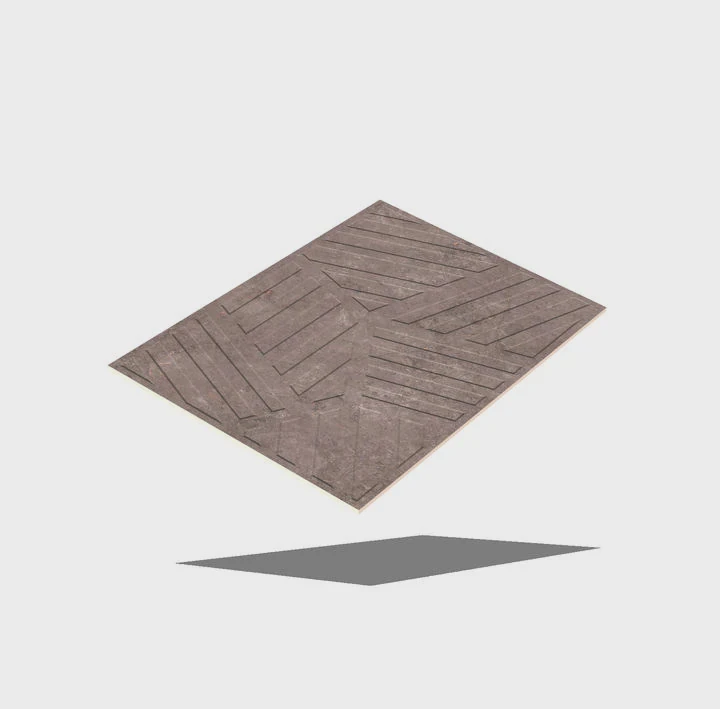
Proper timing ensures strong bonding and long-term durability.
Grouting process timing
After tile installation
Wait until adhesive fully sets. Walking on tiles too early can shift them.
Apply grout
Fill joints evenly using a rubber float. Remove excess grout from tile surfaces.
Initial drying
Allow grout to set for several hours before cleaning residue.
Sealing process timing
| Stage | Timeframe | Action |
|---|---|---|
| Tile installation | Day 0 | Lay tiles |
| Adhesive curing | 24 hours | Ready for grout |
| Grout drying | 24-72 hours | Ready for sealing |
| Sealing | After drying | Apply sealant |
Why sealing matters
Sealant protects grout from:
- Moisture
- Stains
- Mold
Common mistakes
- Grouting too early
- Sealing before grout dries
- Skipping sealing entirely
Best practices
- Follow manufacturer instructions
- Ensure proper ventilation
- Apply sealant evenly
Practical experience
In professional projects, teams strictly follow curing timelines. Rushing this stage often leads to weak joints and future repairs.
Patience at this stage ensures long-lasting results.
Conclusion
Replacing tile flooring requires careful planning, proper tools, and correct timing. Each step, from removal to sealing, affects the final result. With the right approach, new tile floors can remain durable, stable, and visually appealing for many years.



