
How to Take Tile Off the Wall?
- Sinotiles
- 2026-05-26
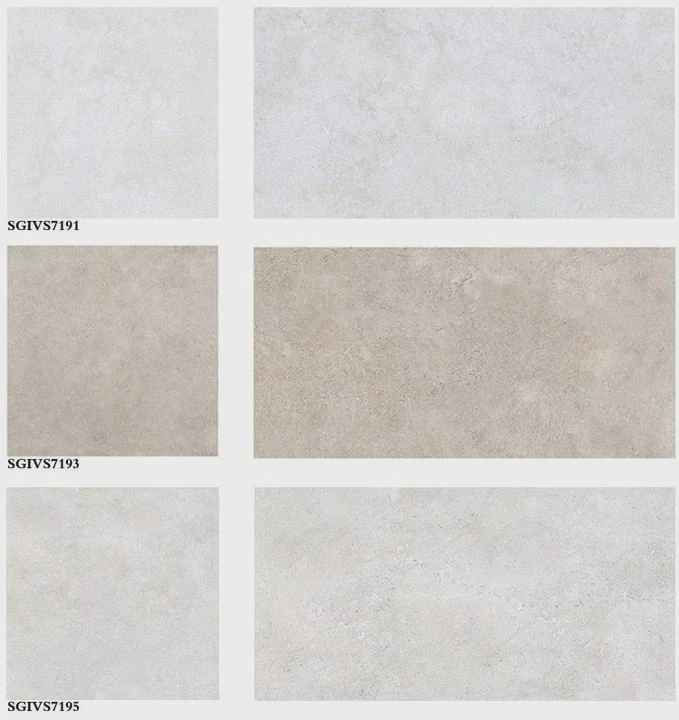
Removing wall tiles can quickly become frustrating when tiles crack into sharp pieces or the wall surface breaks apart underneath. Many people start the job without preparation and end up with damaged drywall, wasted time, and expensive repairs.
The best way to remove wall tiles is to use proper tools, loosen adhesive carefully, protect the wall surface, and follow safe removal steps from start to finish.
Wall tile removal often looks easier than it really is. Some tiles come off cleanly in minutes, while others are bonded tightly with strong adhesive. The condition of the wall, tile type, and installation method all affect the removal process. Careful preparation helps reduce damage and keeps the project under control.
What Tools Are Needed for Wall Tile Removal?
Many tile removal projects become difficult because people use the wrong tools. Weak tools slow down progress, while aggressive tools can crack drywall or damage cement board behind the tiles.
The main tools needed for wall tile removal include a chisel, putty knife, hammer, utility knife, pry bar, oscillating tool, scraper, and protective safety equipment.
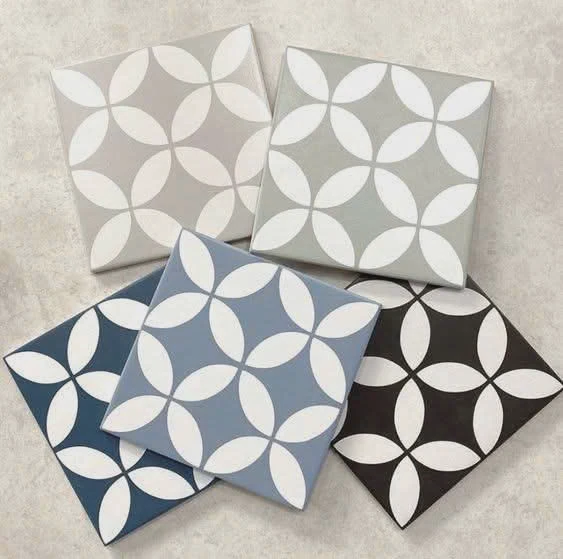
Different wall surfaces require different approaches. Bathroom walls, kitchen backsplashes, and shower areas may all use different adhesives and backer materials. The correct tools help reduce wall damage and speed up the process.
Basic Hand Tools
Hand tools are useful for small projects and controlled removal work.
| Tool | Main Purpose | Best Use |
|---|---|---|
| Utility knife | Cut grout lines | Prevent tile spreading |
| Putty knife | Lift loose tiles | Delicate areas |
| Hammer | Break stubborn tiles | Starting removal |
| Cold chisel | Separate tiles from wall | Hard adhesive |
| Pry bar | Pull large sections | Thick tiles |
A utility knife is usually the first tool used. Cutting grout lines weakens the connection between tiles and prevents nearby tiles from cracking unnecessarily.
Power Tools for Faster Removal
Large wall areas often require power tools. Manual removal can become slow and tiring.
Popular power tools include:
- Oscillating multi-tool
- Rotary hammer
- Heat gun
- Electric scraper
- Angle grinder
An oscillating tool works especially well for removing grout and cutting around tight corners. Many installers prefer it because it offers better control than heavy demolition tools.
Surface Protection Tools
Protecting surrounding areas is important during demolition.
Useful protection materials include:
- Plastic sheets
- Painter’s tape
- Drop cloths
- Dust barriers
These items reduce cleanup time and help protect nearby cabinets, floors, and fixtures.
Safety Equipment Is Essential
Wall tile removal creates dust and sharp debris.
Important safety equipment includes:
- Safety glasses
- Dust masks
- Gloves
- Knee pads
- Hearing protection
Power tools can throw tile fragments at high speed. Good eye protection is necessary throughout the project.
Tool Choice Depends on Tile Type
Not all wall tiles remove the same way.
| Tile Type | Removal Difficulty | Recommended Tool |
|---|---|---|
| Ceramic wall tile | Moderate | Putty knife + hammer |
| Porcelain tile | Hard | Rotary hammer |
| Glass tile | Fragile | Oscillating tool |
| Mosaic tile | Moderate | Scraper |
Glass tiles often crack into very sharp pieces, so careful handling becomes more important.
Wall Material Changes the Strategy
Tile may be installed over:
- Drywall
- Cement board
- Plaster
- Concrete
Drywall damages easily during tile removal. Cement board handles pressure better but may still crack if tools are used aggressively.
Quality Tools Reduce Labor
Cheap scrapers and chisels often bend or wear down quickly. Durable tools improve efficiency and reduce frustration during long projects.
Professional contractors often invest in stronger demolition tools because they improve speed and reduce repair work later.
How Can Tiles Be Removed Without Damaging Walls?
Many people worry more about wall damage than tile removal itself. This concern becomes especially important in kitchens and bathrooms where drywall repairs can add major extra costs.
Tiles can be removed without damaging walls by loosening grout first, working slowly, softening adhesive, using shallow tool angles, and avoiding excessive force.
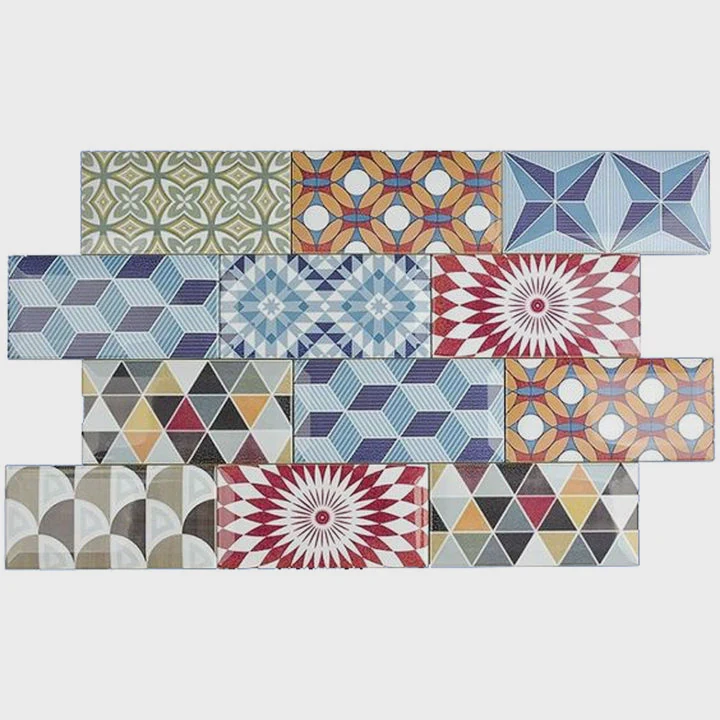
Wall protection starts before the first tile is removed. Rushing often causes deep gouges, torn drywall paper, and broken backer boards.
Remove Grout Before Starting
Grout holds tiles together tightly. Removing grout first weakens the entire tile section.
Good grout removal tools include:
- Utility knife
- Oscillating tool
- Grout saw
This step allows tiles to separate individually instead of pulling large wall sections apart.
Start with Loose or Damaged Tiles
The first tile is usually the hardest to remove. Loose corners or cracked tiles provide easier starting points.
Best starting locations include:
- Tile edges
- Outlet openings
- Existing cracks
- Loose grout joints
Once one tile comes off, nearby tiles often loosen more easily.
Use Gentle Pressure
Aggressive hammering damages wall surfaces quickly. Controlled pressure works better in most situations.
A putty knife or scraper should slide slowly behind the tile. Gradual lifting reduces stress on the wall.
Maintain a Shallow Tool Angle
Tool angle affects wall damage directly.
| Tool Angle | Result |
|---|---|
| Steep angle | Wall gouging |
| Flat angle | Better separation |
| Excessive force | Drywall tearing |
A flatter angle allows the scraper to move between adhesive and tile more smoothly.
Heat Can Help Protect Walls
Heat softens many tile adhesives. A heat gun weakens bonding strength and reduces pulling force.
This method works well for:
- Kitchen backsplash tiles
- Thin adhesive layers
- Older glue systems
Heat should be applied carefully to avoid overheating painted walls or drywall surfaces.
Work Slowly Around Plumbing and Outlets
Bathrooms and kitchens contain hidden risks behind walls.
Careful work is important near:
- Water pipes
- Electrical outlets
- Shower valves
- Light switches
Power should always be turned off before removing tiles near electrical areas.
Some Wall Damage Is Normal
Even careful removal may pull away drywall paper or small surface sections.
Common repair steps include:
- Sand rough areas
- Apply patching compound
- Prime repaired surfaces
- Sand smooth again
Minor repairs are common after tile demolition.
Patience Protects the Wall
Fast demolition methods save time at first but often create larger repair work later. Slow and steady removal usually produces cleaner results and lower repair costs.
Experienced installers focus on controlling the tool rather than forcing the tile loose.
Why Soften Adhesive Before Removing Tiles?
Strong tile adhesive is one of the biggest reasons walls get damaged during removal. Many people try to force tiles off directly, which often tears drywall or breaks cement board underneath.
Softening adhesive before tile removal weakens the bond, reduces wall damage, lowers physical effort, and helps tiles separate more cleanly from the surface.
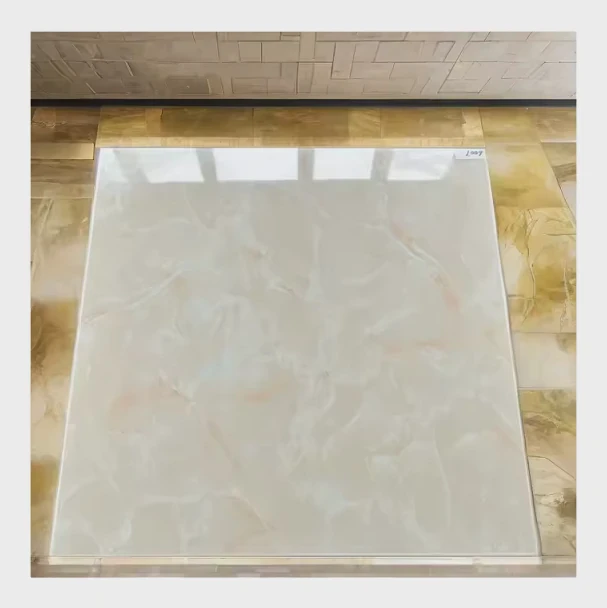
Adhesive strength changes over time. Some old adhesives become brittle, while others remain flexible and extremely strong for decades.
Heat Weakens Many Adhesives
Heat is one of the most effective ways to soften glue behind wall tiles.
Common heating tools include:
- Heat gun
- Hair dryer
- Steam equipment
Heat reduces adhesive stiffness and allows tools to slide behind the tile more easily.
Soft Adhesive Requires Less Force
Reduced force means:
- Lower risk of wall cracks
- Fewer drywall tears
- Better tile separation
- Less worker fatigue
This becomes especially important when working on delicate wall surfaces.
Different Adhesives React Differently
| Adhesive Type | Reaction to Heat |
|---|---|
| Mastic adhesive | Softens easily |
| Thin-set mortar | Limited softening |
| Epoxy adhesive | Very resistant |
| Construction adhesive | Moderate softening |
Thin-set mortar often requires mechanical scraping even after heating.
Moisture Sometimes Helps
Steam can soften some adhesive systems.
This method works best in:
- Older kitchens
- Backsplash installations
- Mastic-based adhesive systems
Too much moisture should be avoided near drywall because water can weaken the wall structure.
Chemical Adhesive Removers
Some projects require adhesive solvents.
These removers help with:
- Thick glue residue
- Sticky mastic
- Difficult adhesive buildup
Good ventilation is important when using chemical products indoors.
Adhesive Softening Improves Tile Recovery
Some homeowners want to save tiles for reuse. Softening adhesive increases the chance of removing tiles intact.
This matters for:
- Decorative tiles
- Handmade tiles
- Vintage wall tiles
- Expensive imported tiles
Careful removal preserves tile edges and surface finishes.
Softened Adhesive Speeds Up Cleanup
Hard adhesive often leaves rough residue behind. Softened glue usually scrapes away faster after tile removal.
This creates smoother surfaces for:
- Repainting
- New tile installation
- Wall panel installation
Good surface preparation improves the quality of the final finish.
Preparation Saves Repair Costs
Many expensive wall repairs happen because adhesive removal was rushed. Softening the adhesive first reduces stress on both the tile and wall structure.
Experienced contractors often spend more time preparing than actually removing the tiles.
Which Steps Ensure Safe Wall Tile Removal?
Tile demolition creates sharp debris, heavy dust, and possible electrical or plumbing risks. Safety mistakes can easily lead to injury or expensive property damage.
Safe wall tile removal requires proper protective gear, controlled tool use, dust management, electrical safety checks, and organized cleanup throughout the project.
Professional crews focus heavily on safety because wall demolition creates unpredictable hazards. Good preparation reduces accidents and improves work efficiency.
Wear Proper Safety Gear
Protective equipment should always be used before starting removal work.
Important gear includes:
- Safety glasses
- Dust mask or respirator
- Work gloves
- Long sleeves
- Hearing protection
Tile fragments can fly unexpectedly during hammering or power tool use.
Protect the Work Area
Dust spreads quickly through homes during demolition.
Good preparation includes:
- Covering nearby furniture
- Sealing doors with plastic
- Using drop cloths
- Opening windows for ventilation
This keeps surrounding rooms cleaner and safer.
Turn Off Electricity Near Work Areas
Wall tiles are often installed around outlets and switches.
Before removal:
- Turn off circuit breakers
- Test outlets for power
- Remove outlet covers
- Avoid striking hidden wires
Electrical safety is extremely important in kitchens and bathrooms.
Watch for Plumbing Lines
Bathrooms and kitchens may contain hidden pipes behind walls.
Extra caution is needed near:
- Shower plumbing
- Sink lines
- Water valves
Heavy demolition tools should be avoided in these areas.
Remove Tiles in Small Sections
Large uncontrolled demolition creates more hazards.
Small sections improve:
- Tool control
- Dust management
- Visibility
- Debris cleanup
Organized work reduces trip hazards and sharp debris buildup.
Handle Broken Tiles Carefully
Broken wall tiles often have razor-sharp edges.
| Risk | Prevention |
|---|---|
| Cuts | Wear gloves |
| Eye injuries | Use goggles |
| Dust inhalation | Wear respirator |
| Slipping | Clear debris often |
Safe cleanup matters just as much as safe demolition.
Dispose of Debris Properly
Tile waste becomes heavy very quickly.
Strong containers help manage:
- Broken tile
- Adhesive debris
- Dust waste
- Sharp fragments
Overfilled bags can tear easily and create safety risks.
Maintain Good Ventilation
Dust from grout and adhesive may contain silica particles. Proper airflow reduces airborne dust levels.
Professional crews often use:
- Exhaust fans
- HEPA vacuums
- Open windows
- Dust barriers
Cleaner air improves comfort and visibility during work.
Safe Work Habits Improve Efficiency
Workers perform better when the environment is organized and controlled. Safe habits reduce interruptions, injuries, and costly mistakes.
Professional tile removal is not only about speed. It is also about protecting the wall, the workspace, and everyone involved in the project.
Conclusion
Wall tile removal becomes much easier when proper tools, careful techniques, adhesive softening methods, and safe work habits are used together. Slow and controlled removal protects the wall surface, reduces repair costs, and creates a cleaner foundation for the next renovation step.



