
How to Tile Around a Tub?
- Sinotiles
- 2026-05-28
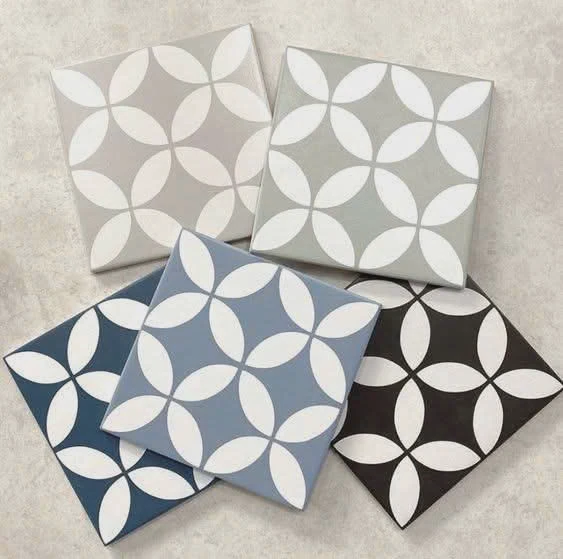
Many bathroom tile problems begin around the bathtub area. Water exposure, poor waterproofing, and uneven tile alignment often lead to mold, cracked grout, or loose tiles after only a short time.
Tiling around a tub requires careful surface preparation, waterproofing, accurate tile spacing, and strong installation methods. Proper planning helps create a durable, water-resistant, and visually balanced bathroom finish.
Bathtub wall areas face constant moisture and temperature changes every day. Because of this, even small installation mistakes can become expensive repair problems later. A professional tiling process protects both the bathroom structure and the tile surface itself.
What Preparation Is Needed Before Tiling Around Tubs?
Many installers focus heavily on tile design and layout. Yet the real success of a tub tiling project starts before the first tile is installed. Poor preparation often causes long-term water damage and bonding failure.
Preparation before tiling around tubs includes surface cleaning, wall leveling, waterproof backer installation, layout planning, and moisture protection. A stable and dry substrate creates stronger tile adhesion and longer-lasting performance.
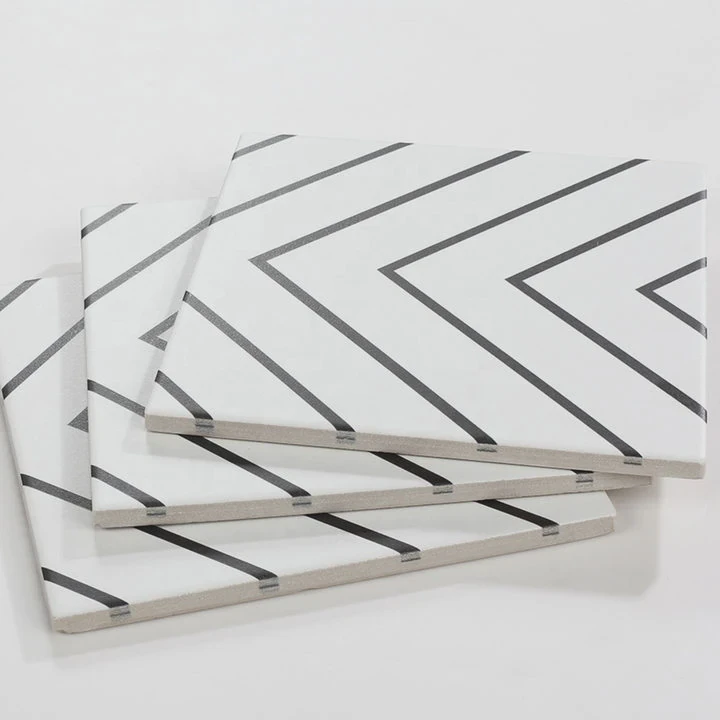
Bathroom environments create constant moisture exposure. Because of this, preparation becomes even more important than in dry indoor spaces.
Check the Wall Structure First
Before tiling begins, the wall condition must be inspected carefully.
Old drywall damaged by moisture should never remain behind new tile installations. Weak or moldy surfaces reduce bonding strength and may create future structural problems.
Most professional installers use cement backer boards instead of regular drywall around tubs.
Remove Dirt and Old Materials
The wall surface must remain clean before applying adhesive or waterproofing layers.
Common materials that should be removed include:
- Dust
- Soap residue
- Old adhesive
- Loose paint
- Damaged drywall
A clean surface improves bonding performance significantly.
Leveling the Surface Matters
Uneven walls create visible tile alignment problems.
Large-format tiles especially require flat wall surfaces because unevenness becomes easier to notice.
Installers often use leveling compounds or surface correction methods before tiling starts.
Plan Tile Layout Before Installation
Good layout planning improves both appearance and installation efficiency.
Professional installers usually dry-layout tiles first to avoid:
- Tiny tile cuts
- Uneven corners
- Misaligned grout joints
- Poor visual balance
Centering feature walls often creates a cleaner final appearance.
Measure Carefully Around Fixtures
Bathtub areas include many obstacles such as:
- Shower valves
- Faucets
- Plumbing outlets
- Niches
- Shelves
Accurate measurements reduce tile waste and improve installation quality.
Moisture Protection Begins Early
Bathrooms constantly face humidity and water exposure.
This is why moisture protection should begin before tile installation.
Even premium porcelain tiles cannot stop water damage if the wall system behind them fails.
Choosing the Right Tile Matters
Different tile types perform differently around tubs.
Porcelain tiles are highly popular because they offer:
| Tile Feature | Benefit Around Tubs |
|---|---|
| Low water absorption | Better moisture resistance |
| Easy cleaning | Lower maintenance |
| High durability | Longer lifespan |
| Wide design choices | Flexible styling |
Glossy wall tiles also help reflect light in smaller bathrooms.
Prepare the Tub Edge Correctly
The connection between the tub and wall is one of the most sensitive areas.
Improper sealing here often creates water leakage problems.
Installers usually leave a small movement gap between the tile and tub edge for flexible silicone sealing later.
Tools and Materials Should Be Ready
Preparation also includes organizing installation tools and materials before starting.
Common tools include:
- Tile cutter
- Level
- Spacers
- Trowels
- Waterproof membrane
- Measuring tape
Proper preparation reduces mistakes during installation.
Bathroom tub tiling is not only about appearance. Good preparation creates the structural foundation that protects the bathroom from long-term moisture damage.
How Can Waterproofing Protect Tub Areas?
Many bathroom tile surfaces look perfect from the outside while hidden water damage slowly develops behind the wall. Waterproofing protects the structure underneath and prevents expensive future repairs.
Waterproofing protects tub areas by blocking moisture penetration behind tiles and walls. It helps prevent mold, water damage, adhesive failure, and long-term structural deterioration in wet bathroom environments.
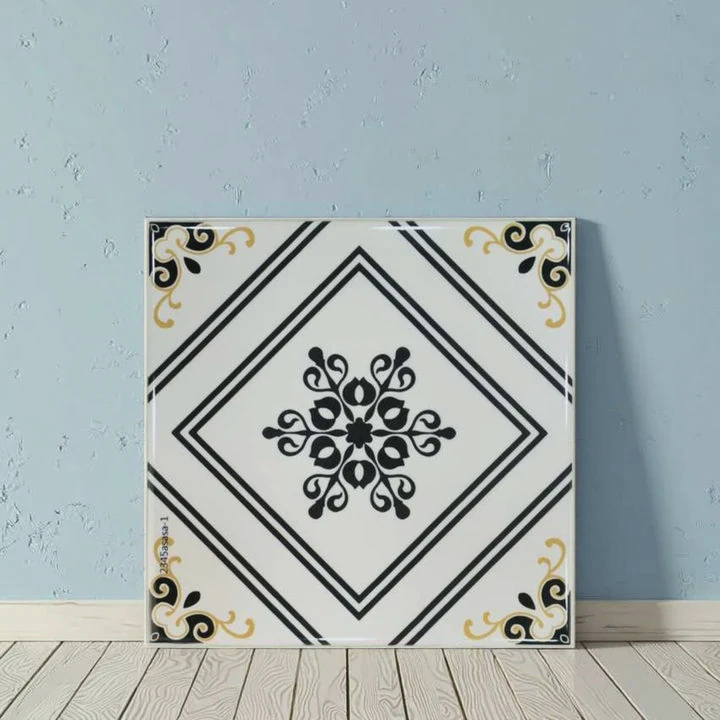
Waterproofing is one of the most important parts of bathroom tile installation.
Tiles Alone Are Not Waterproof
Many people assume ceramic or porcelain tiles completely stop water.
In reality, water often enters through:
- Grout joints
- Small cracks
- Tile edges
- Movement joints
Without waterproofing underneath, moisture can slowly damage the wall structure.
Cement Board Needs Waterproof Protection
Cement backer boards resist moisture better than drywall, but they are not fully waterproof themselves.
A waterproof membrane is usually applied over the board before tiling begins.
This creates a protective moisture barrier behind the tiles.
Waterproof Membranes Come in Different Forms
Several waterproofing systems are commonly used in bathroom projects.
Some popular options include:
| Waterproofing Type | Common Use |
|---|---|
| Liquid membrane | Brush or roller application |
| Sheet membrane | Full wall waterproof barrier |
| Waterproof tape | Corners and joints |
| Silicone sealant | Flexible edge protection |
Each system helps reduce water penetration risk.
Corners and Joints Need Extra Attention
Water damage often begins in corners and seams.
These areas experience movement and moisture concentration more frequently.
Professional installers usually reinforce:
- Wall corners
- Tub edges
- Pipe penetrations
- Niches
- Joint transitions
This improves long-term waterproof performance.
Waterproofing Extends Bathroom Lifespan
Bathrooms face daily moisture exposure for many years.
Without waterproofing, hidden damage may eventually create:
- Mold growth
- Soft walls
- Tile loosening
- Bad odors
- Structural decay
Repairing these issues later often requires full wall replacement.
Shower-Tub Combinations Need Strong Protection
Bathrooms with shower-tub combinations face especially heavy water exposure.
Direct spray from showers constantly hits the wall surface.
This creates much higher moisture pressure than decorative bathroom walls.
Waterproofing Also Protects Adhesive Strength
Tile adhesive performs best when moisture conditions remain stable.
Excessive water behind tiles weakens bonding over time.
This may lead to hollow sounds or tile detachment.
Proper Drainage Supports Waterproofing
Waterproofing works best together with proper water management.
Slight wall design slopes and proper sealing help direct water away from sensitive areas.
Standing water should never remain near tub edges for long periods.
Professional Installation Makes a Big Difference
Even high-quality waterproofing products can fail if installed incorrectly.
Professional installers carefully follow manufacturer instructions for:
- Drying time
- Layer thickness
- Joint treatment
- Membrane overlap
These details strongly affect final performance.
Waterproofing may remain hidden behind the tile surface, but it is one of the most important investments in long-term bathroom durability.
Why Use Spacers for Consistent Tile Gaps?
Many bathroom tile installations fail visually because of uneven grout lines. Even small spacing differences quickly become noticeable around tubs and shower walls where straight lines are highly visible.
Tile spacers help create equal gaps between tiles, improve grout consistency, support alignment accuracy, and reduce installation mistakes. Consistent spacing also improves both appearance and long-term tile performance.

Tile spacers may look simple, but they play a major role in professional tile installation quality.
Equal Grout Lines Improve Appearance
Human eyes easily notice uneven lines.
Crooked grout joints make even expensive tiles look poorly installed.
Spacers help maintain straight and balanced tile alignment throughout the wall.
Spacing Allows Tile Movement
Tiles naturally expand and contract slightly because of temperature and moisture changes.
Proper spacing allows small movement between tiles without creating pressure stress.
Without gaps, tiles may crack or push against each other.
Different Spacer Sizes Create Different Looks
Spacer size changes the final design style.
Some common choices include:
| Spacer Size | Visual Effect |
|---|---|
| 1mm-2mm | Modern narrow joints |
| 3mm | Standard wall tiling |
| 5mm+ | Rustic or decorative style |
The tile edge style often influences spacer selection.
Large Tiles Need Careful Alignment
Large-format bathroom tiles are increasingly popular.
Yet larger tiles also make alignment errors more visible.
Spacers help maintain consistency across long vertical and horizontal lines.
Spacers Improve Installation Speed
Experienced installers use spacers to work more efficiently.
Consistent gaps reduce the need for constant visual corrections during installation.
This improves both speed and final quality.
Grout Performance Depends on Joint Width
Grout needs enough space to fill properly between tiles.
Very narrow joints may create weak grout bonding.
Proper spacing helps grout perform better under moisture and cleaning conditions.
Corner Alignment Becomes Cleaner
Tub surrounds often include inside corners and edge transitions.
Spacers help maintain equal alignment across these difficult areas.
This creates a more professional finished appearance.
Different Tile Types Need Different Spacing
Natural stone, handmade tiles, and rectified porcelain all behave differently.
Handmade tiles usually require slightly larger joints because size variation is more common.
Rectified porcelain allows narrower grout lines because edges are more precise.
Spacers Help Reduce Stress During Installation
Without spacers, installers constantly adjust tile positions manually.
This increases fatigue and raises the risk of alignment mistakes.
Simple installation tools often improve quality more than people expect.
Consistent tile spacing creates cleaner grout lines, stronger visual balance, and better long-term installation performance around bathtub areas.
Which Steps Ensure Durable Tub Tile Installation?
Many tub tile installations look beautiful during the first months. Later, cracks, mold, and loose tiles begin appearing because key installation steps were skipped or rushed.
Durable tub tile installation requires strong substrate preparation, waterproofing, quality adhesive, proper tile spacing, flexible sealing, and correct curing methods to resist long-term moisture exposure and daily bathroom use.
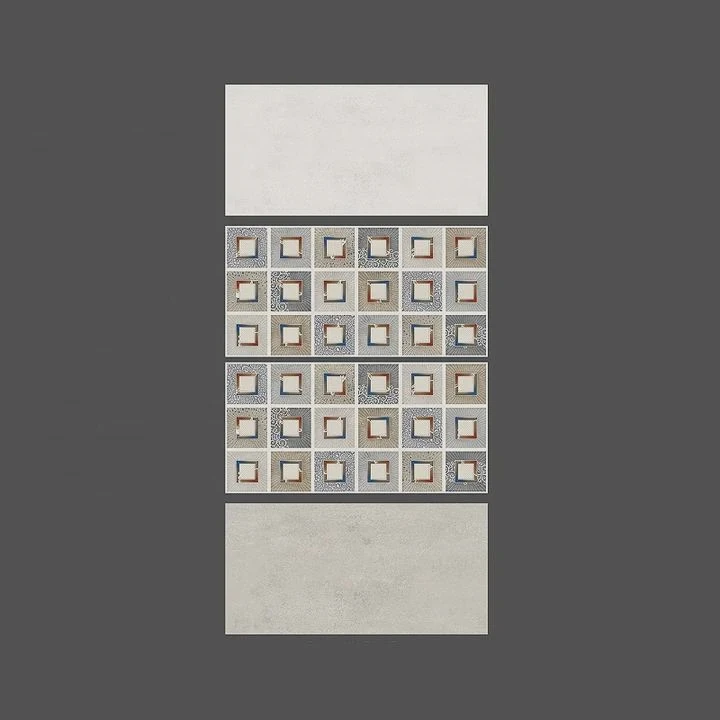
Long-lasting bathroom tile systems depend on multiple layers working together correctly.
Start With a Stable Backing Surface
The tile system is only as strong as the wall underneath.
Professional installers usually use cement backer boards because they resist moisture and provide strong bonding support.
Weak wall surfaces eventually create movement and cracking.
Waterproof Before Applying Tile
Waterproofing should never be skipped in wet areas.
This protective layer reduces moisture penetration behind the tile system.
Corners, plumbing openings, and tub edges require extra waterproof attention.
Use the Correct Tile Adhesive
Bathroom environments need water-resistant tile adhesives.
Flexible adhesives work especially well because they handle slight movement and temperature changes better.
Large-format tiles often require stronger bonding mortars.
Apply Adhesive Correctly
Proper adhesive coverage is critical.
Installers usually use notched trowels to create even mortar layers.
For larger wall tiles, back-buttering may improve adhesion and reduce hollow gaps.
Keep Tile Alignment Consistent
Straight tile lines create both visual quality and structural balance.
Using levels, spacers, and layout lines helps maintain alignment accuracy throughout the installation.
Seal Movement Areas Properly
Bathrooms experience constant expansion and contraction from moisture and temperature changes.
Flexible silicone sealant should be used in movement areas such as:
- Tub edges
- Corners
- Fixture joints
Rigid grout alone may crack in these locations.
Allow Proper Curing Time
Fresh tile installations need enough curing time before heavy use.
Early water exposure or movement weakens adhesive bonding.
Most installers allow at least 24-48 hours before exposing tub areas to regular use.
Quality Grout Protects the System
Grout is not only decorative.
It also helps protect joints from water penetration and dirt buildup.
Many modern bathrooms use mold-resistant grout products for easier maintenance.
Regular Maintenance Extends Lifespan
Even high-quality installations still need maintenance.
Simple care steps include:
| Maintenance Task | Benefit |
|---|---|
| Cleaning grout lines | Reduces mold buildup |
| Checking silicone joints | Prevents water leakage |
| Removing standing water | Protects surfaces |
| Repairing cracks early | Avoids larger damage |
Small maintenance efforts greatly extend installation lifespan.
Professional Work Reduces Future Problems
Bathroom tile repair is expensive and time-consuming.
Professional installation reduces risks such as:
- Water damage
- Tile detachment
- Mold growth
- Uneven surfaces
- Structural decay
This creates better long-term value for homeowners and property developers.
Durable tub tile installation comes from proper preparation, waterproof protection, quality materials, and careful workmanship at every stage of the project.
Conclusion
Tiling around a tub requires more than good-looking tiles. Strong preparation, waterproofing, consistent spacing, and careful installation methods all work together to create a durable, safe, and moisture-resistant bathroom surface that lasts for many years.


