
How To Layout Tile?
- Sinotiles
- 2026-05-28

Poor tile layout can ruin even high-quality tiles. Uneven cuts, crooked lines, and bad spacing often create expensive mistakes that are difficult to fix after installation begins.
Tile layout requires careful planning, accurate measurements, reference lines, and proper tools to create balanced patterns, straight alignment, and professional installation results.
Many flooring and wall tile problems begin before the first tile is installed. Good layout planning helps reduce waste, improve symmetry, and create a cleaner final appearance. In both residential and commercial projects, professional installers spend significant time preparing the layout before mixing adhesive. This preparation often determines the quality of the entire project.
What Planning Steps Are Needed For Tile Layout?
Many installation problems happen because layout planning was rushed. A few extra preparation steps can prevent uneven cuts, wasted material, and poor visual balance.
Tile layout planning requires measuring the area, checking floor conditions, selecting tile patterns, calculating cuts, and testing the layout before installation starts.
Tile layout is not only about placing tiles on a surface. It is about creating visual balance and minimizing installation problems. Careful preparation improves both appearance and efficiency.
Measure The Entire Space Carefully
Every layout starts with accurate measurement. Installers must measure both length and width because rooms are often not perfectly square.
Important measurements include:
- Room dimensions
- Doorway locations
- Cabinet positions
- Drain locations
- Wall irregularities
Small measurement mistakes can create large alignment problems later.
Check Floor Or Wall Conditions
Uneven surfaces affect tile alignment and spacing. Before layout begins, installers usually inspect the substrate carefully.
Common issues include:
- Uneven concrete
- Wall bowing
- Cracks
- Moisture problems
- Height differences
Correcting these problems early improves final installation quality.
Choose The Tile Pattern
Different patterns require different layout strategies.
Popular layout styles include:
| Tile Pattern | Visual Effect |
|---|---|
| Straight lay | Clean and simple |
| Brick pattern | More movement |
| Diagonal layout | Larger visual feel |
| Herringbone | Decorative style |
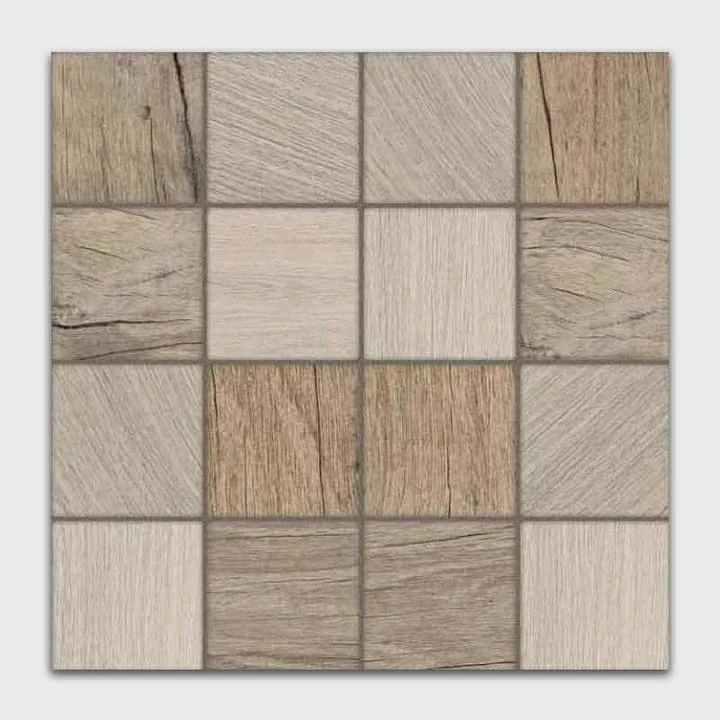
| Modular layout | Luxury appearance |
Some patterns create more cutting waste than others.
Plan Tile Cuts Early
Small tile cuts near walls often look unprofessional. Good layout planning helps avoid narrow edge pieces.
Installers usually try to:
- Keep cuts balanced on both sides
- Avoid tiny corner cuts
- Center focal points
- Align grout joints carefully
Balanced cuts improve the overall visual appearance of the room.
Dry Lay Tiles Before Installation
Many professionals perform a dry layout before using adhesive.
Dry laying helps:
- Confirm measurements
- Check spacing
- Preview the design
- Adjust alignment
- Prevent surprises
This step becomes especially important with large-format tiles or complex patterns.
Calculate Waste And Extra Material
Every tile project requires additional material for cuts and future repairs.
Typical waste allowances include:
- 5-10% for straight layouts
- 10-15% for diagonal patterns
- Higher percentages for complex designs
Ordering enough material early helps avoid color variation problems from different production batches.
How Can Reference Lines Improve Tile Alignment?
Even beautiful tiles can look poor when alignment is inconsistent. Reference lines help installers maintain straight rows and balanced spacing throughout the project.
Reference lines improve tile alignment by creating visual guides that keep tiles straight, balanced, centered, and evenly spaced during installation.

Professional installers rarely begin tiling without marking guide lines first. These lines act as a roadmap for the entire layout process.
Establish A Main Control Line
The first reference line is usually the most important. It determines the direction of the tile installation.
Main control lines help:
- Keep rows straight
- Maintain symmetry
- Reduce layout drift
- Align focal points
Without a proper starting line, small alignment errors can grow larger across the room.
Use Perpendicular Layout Lines
Most layouts require crossing reference lines that form 90-degree angles.
This process helps installers:
- Create square alignment
- Balance tile placement
- Prevent pattern shifting
Perpendicular lines are especially important in large open areas where alignment errors become more visible.
Snap Chalk Lines For Accuracy
Chalk lines provide visible layout guides across floors and walls.
Benefits include:
- Fast marking
- Long straight guides
- Easy visibility
- Better consistency
Blue and red chalk lines are commonly used depending on surface color.
Reference Lines Help With Large Rooms
In large commercial spaces, alignment becomes more difficult because small errors multiply over long distances.
Reference grids help maintain:
- Consistent grout joints
- Straight tile rows
- Balanced sections
- Visual order
Shopping malls, hotels, and airports often rely heavily on grid-based layouts.
Adjust Layout Before Adhesive Application
Reference lines allow corrections before permanent installation begins.
Installers may adjust lines to:
- Improve cut sizes
- Center patterns
- Align with doors
- Match architectural features
This flexibility improves final appearance significantly.
Layout Grids Improve Large Tile Installation
Large-format porcelain tiles require even greater precision because uneven alignment becomes very visible.
Grid systems help reduce:
| Installation Problem | Benefit Of Reference Lines |
|---|---|
| Uneven joints | Straighter spacing |
| Pattern drift | Better alignment |
| Crooked rows | Cleaner appearance |
| Poor symmetry | Balanced layout |
Large tiles often leave less room for visual error.
Why Start Layout From The Center Of The Room?
Many professional tile installers begin from the center instead of starting directly at a wall. This method improves balance and creates a more professional appearance.
Starting tile layout from the center helps create symmetrical cuts, balanced tile placement, and cleaner visual proportions throughout the room.
Center-based layout is common because most rooms are visually judged from the middle. Uneven edge cuts become more noticeable when layout begins from one side only.
Balanced Edge Cuts Look Better
If installation starts at one wall, the opposite side may end with very narrow tile pieces.
Centered layouts help:
- Balance cuts on both sides
- Improve room symmetry
- Create professional appearance
Even when cuts are necessary, equal-sized cuts usually look cleaner.
The Human Eye Notices Symmetry
People naturally notice visual imbalance. A centered tile pattern creates a more organized appearance.
Symmetrical layouts often feel:
- Cleaner
- More luxurious
- More intentional
- Better designed
This matters greatly in bathrooms, living rooms, hotel lobbies, and commercial spaces.
Center Layout Helps Focal Points
Some rooms contain strong focal areas such as:
- Bathtubs
- Kitchen islands
- Entryways
- Feature walls
- Fireplaces
Starting from the center helps align tiles with these visual elements.
Large Rooms Need Better Visual Control
In open spaces, layout mistakes become highly visible. Starting from the center helps maintain overall balance.
This is especially important for:
- Shopping centers
- Restaurants
- Office lobbies
- Luxury homes
Large-format tiles make centered layouts even more important because each tile covers more visible area.
Some Rooms Require Modified Center Layouts
Not every project uses exact room center points. Installers sometimes shift the center slightly to improve final cuts.
Layout adjustments may consider:
- Cabinet placement
- Shower areas
- Main entrances
- Furniture positioning
The goal is visual balance instead of mathematical perfection.
Dry Layout Confirms Center Position
Professionals often test the centered layout before final installation.
Dry fitting helps verify:
| Layout Check | Purpose |
|---|---|
| Edge cuts | Avoid tiny pieces |
| Pattern alignment | Improve symmetry |
| Tile spacing | Maintain consistency |
| Visual balance | Better appearance |
This reduces costly mistakes during adhesive installation.
Which Tools Help Achieve Accurate Tile Layout?
Accurate layout depends heavily on proper tools. Professional installers use specialized equipment to improve precision, speed, and consistency.
Tile layout accuracy improves through tools such as tape measures, laser levels, chalk lines, spacers, framing squares, and tile leveling systems.
Modern tile installation relies on precision tools more than ever before. Large-format tiles especially require higher installation accuracy.
Tape Measures And Rulers
Accurate measurement is the foundation of good layout.
Basic measuring tools include:
- Tape measures
- Folding rulers
- Steel rulers
- Digital measuring tools
Even small measurement errors can affect the final installation.
Laser Levels Improve Precision
Laser levels have become very popular in professional tile installation.
Benefits include:
- Straight alignment guides
- Faster setup
- Improved consistency
- Better wall and floor accuracy
Laser tools are especially useful in large commercial spaces.
Chalk Lines Create Straight Guides
Chalk lines remain one of the most common layout tools because they are simple and effective.
They help installers:
- Mark long straight lines
- Build layout grids
- Align rows quickly
Chalk lines are inexpensive but highly important for professional results.
Tile Spacers Maintain Consistent Joints
Uneven grout joints immediately reduce installation quality.
Tile spacers help maintain:
- Equal spacing
- Straight alignment
- Uniform grout lines
Different spacer sizes create different visual styles.
Framing Squares Check Angles
Most tile layouts require accurate 90-degree angles.
Framing squares help installers:
- Confirm perpendicular lines
- Check room squareness
- Prevent alignment drift
Rooms are often less square than expected, especially in older buildings.
Tile Leveling Systems Reduce Lippage
Large-format tiles may create uneven edges called lippage. Tile leveling systems help reduce this issue.
These systems often include:
| Tool Type | Main Function |
|---|---|
| Clips | Hold tile edges |
| Wedges | Tighten alignment |
| Caps | Maintain flat surfaces |
| Pliers | Apply even pressure |
Large porcelain slabs especially benefit from leveling systems.
Wet Saws Improve Cutting Accuracy
Clean tile cuts are critical for professional layouts.
Wet saws help create:
- Straighter cuts
- Cleaner edges
- Better corner fitting
- Reduced tile breakage
Complex layouts may also require angle grinders and specialty cutting tools.
Technology Improves Modern Tile Installation
Today many installers use digital layout planning and advanced laser systems for large commercial projects.
Technology helps improve:
- Speed
- Accuracy
- Waste reduction
- Pattern consistency
As tile sizes continue growing larger, precision tools become even more important.
Conclusion
Successful tile layout depends on careful planning, accurate reference lines, balanced center alignment, and proper installation tools. Good preparation helps create cleaner patterns, professional symmetry, and long-lasting tile installation results.


