
What Size Tile Spacers Should I Use?
- Sinotiles
- 2026-04-11
Choosing the wrong spacer size can ruin alignment. Tiles shift. Lines look uneven. The final result feels unprofessional and costly to fix.
The right tile spacer size depends on tile type, size, and installation goal. Small tiles use 1–2mm spacers, while large format tiles often need 2–5mm to ensure proper alignment and grout consistency.
Many buyers and installers ask this question before starting a project. The answer looks simple, but it depends on several real factors. Each project has its own needs. Let me break it down step by step.
Why do spacer sizes affect tile alignment?
Tiles rarely have perfectly identical dimensions. Even high-quality tiles have slight variations. Without spacers, those differences quickly show during installation.
Spacer size controls the distance between tiles, which directly affects alignment. Proper spacing helps absorb size variation and keeps grout lines straight and uniform.
Understanding tile variation
Every tile batch has what we call “caliber variation.” This means slight size differences between pieces. If spacers are too small, these differences become visible.
If spacers are too large, the lines may look overly wide and affect the design balance.
How spacers guide installation
Spacers act as a guide system. They help installers:
- Keep consistent gaps
- Align rows properly
- Prevent tile edges from touching
Without spacers, even skilled workers struggle to maintain straight lines across large surfaces.
The role of tile edges
Tile edges matter more than many people expect.
- Rectified tiles → very straight edges → allow smaller spacers
- Non-rectified tiles → slightly uneven edges → need larger spacers
Practical comparison
| Tile Type | Edge Quality | Recommended Spacer |
|---|---|---|
| Rectified tile | Very straight | 1–2 mm |
| Ceramic tile | Slight variation | 2–3 mm |
| Rustic tile | Irregular | 3–5 mm |
Why alignment failures happen
I have seen projects where people tried to use 1mm spacers for non-rectified tiles. The result was uneven lines and visible shifts. The problem was not the tile. It was the wrong spacer choice.
Key takeaway
Spacer size is not just about looks. It solves real physical differences between tiles. It keeps the installation clean, stable, and visually balanced.
Which spacer size suits different tile formats?
Different tile sizes need different spacing. Large tiles behave very differently from small tiles during installation.
Small tiles typically use 1–2mm spacers, while larger tiles require 2–5mm spacers to handle size variation and installation stress.
Small format tiles
Small tiles like mosaics or 300×300mm tiles need tighter spacing.
Why?
- Less visible variation
- More grout lines already present
- Better control during installation
Typical spacer size: 1–2 mm
Medium format tiles
Tiles like 600×600mm are very common in both residential and commercial spaces.
They need slightly wider spacing because:
- Surface area is larger
- Small variations become more noticeable
Typical spacer size: 2–3 mm
Large format tiles
Large tiles such as 600×1200mm or 800×800mm need more attention.
These tiles require:
- Strong alignment control
- More room for adjustment
Typical spacer size: 2–5 mm
Extra-large slabs
For slabs like 1200×2400mm or bigger, spacing becomes even more critical.
- Installation tolerance is tighter
- Surface flatness matters more
Typical spacer size: 3–5 mm
Format-based guide
| Tile Size Range | Common Application | Spacer Size |
|---|---|---|
| Mosaic / small tiles | Bathrooms, backsplashes | 1–2 mm |
| 300×300mm | Floors, walls | 1.5–2 mm |
| 600×600mm | Residential floors | 2–3 mm |
| 600×1200mm | Modern interiors | 2–4 mm |
| 800×800mm+ | Commercial spaces | 3–5 mm |
Design vs function
Some buyers want very narrow grout lines because they look modern. That is fine, but it must match the tile type.
For example:
- Polished tiles → allow tighter spacing
- Rustic or stone-look tiles → need wider spacing
My experience from projects
In one project, a client insisted on 1mm spacing for 600×1200 tiles. The tiles were not perfectly rectified. After installation, the lines looked uneven. We had to redo part of the floor.
That experience showed a simple truth: format always matters.
How do you ensure consistent grout lines?
Even with the right spacer size, poor installation can still lead to uneven grout lines.
Consistent grout lines depend on proper spacer placement, level surfaces, and correct installation techniques, not just spacer size alone.
Proper spacer placement
Spacers should be placed at tile corners or edges, not randomly.
Common methods:
- Cross spacers for corners
- T spacers for staggered layouts
Use leveling systems
For large tiles, spacers alone are not enough. A leveling system helps keep tiles flat.
Benefits:
- Prevents lippage (uneven edges)
- Improves overall alignment
Surface preparation matters
Before installation, the surface must be:
- Flat
- Clean
- Stable
If the base is uneven, grout lines will also become uneven.
Consistent pressure during installation
Tiles must be pressed evenly into adhesive.
If pressure varies:
- Tiles may shift
- Gaps may change
Grout application technique
Even after spacing is correct, grout work matters.
Key points:
- Use the same grout mix
- Apply evenly across all joints
- Clean excess properly
Common mistakes to avoid
- Removing spacers too early
- Using mixed spacer sizes
- Skipping layout planning
Step-by-step control process
- Dry lay tiles before installation
- Use spacers consistently
- Check alignment every few rows
- Adjust immediately if needed
Why consistency is critical
Uneven grout lines are one of the first things people notice. Even expensive tiles look cheap if lines are inconsistent.
From experience, consistency depends more on discipline than tools. Good installers follow the process carefully every time.
Can spacer choice impact final tile appearance?
Spacer size directly affects how the finished space looks. It changes both style and perception.
Yes, spacer choice strongly impacts final appearance by controlling grout width, visual balance, and overall design style.
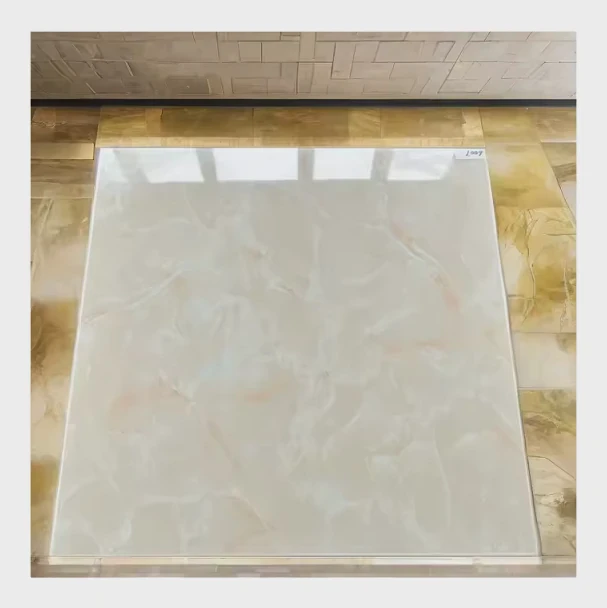
Visual effect of narrow grout lines
Small spacers (1–2 mm):
- Create a clean, modern look
- Make tiles appear larger
- Reduce visual interruption
Best for:
- Polished tiles
- Contemporary designs
Visual effect of wider grout lines
Larger spacers (3–5 mm):
- Highlight tile shape
- Add texture and contrast
- Suit rustic or traditional styles
Best for:
- Stone-look tiles
- Handmade-style tiles
Color interaction
Spacer size also affects how grout color interacts with tiles.
- Narrow joints → less visible grout
- Wide joints → grout becomes a design element
Balance between aesthetics and function
Many buyers focus only on appearance. However, function is equally important.
Too narrow spacing can lead to:
- Cracking
- Poor adhesion
- Difficult installation
Style comparison
| Spacer Size | Visual Style | Best Use Case |
|---|---|---|
| 1–2 mm | Minimal, modern | Polished indoor spaces |
| 2–3 mm | Balanced | Most residential projects |
| 3–5 mm | Bold, textured | Rustic or outdoor areas |
Real-world observation
In commercial projects, slightly wider grout lines are often preferred. They handle wear better and hide minor installation imperfections.
In luxury residential spaces, tighter lines are popular for a seamless look.
Final design tip
Spacer choice should match:
- Tile type
- Space function
- Design style
When these three align, the final result looks intentional and professional.
Conclusion
Choosing the right tile spacer size is not a small detail. It affects alignment, durability, and visual result. Matching spacer size with tile type and format ensures a clean, consistent, and professional finish every time.



