
Can Tile Be Installed Over Painted Surface?
- Sinotiles
- 2026-05-28
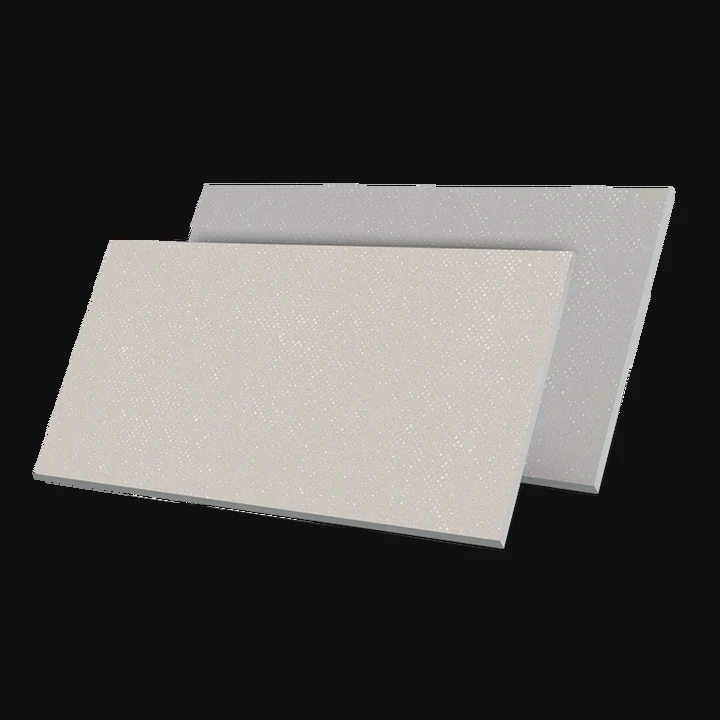
Many people want to install tiles directly over painted walls to save time during renovation. Yet poor surface preparation often causes loose tiles, weak bonding, and expensive repairs later.
Yes, tile can be installed over painted surfaces if the paint is stable, clean, properly prepared, and able to support strong adhesive bonding. Surface condition and preparation are critical for long-term performance.
Painted walls may look solid from the outside, but hidden problems such as peeling paint, moisture damage, or glossy coatings can weaken tile adhesion. Understanding when painted surfaces are suitable for tiling helps prevent future installation failures.
What Conditions Allow Tiling Over Painted Walls?
Many painted walls appear ready for tile installation, but appearance alone does not guarantee proper adhesion. Weak paint layers can separate from the wall after tiles are installed.
Tiling over painted walls is possible when the paint is firmly bonded, non-glossy, clean, dry, and supported by a stable wall structure without moisture damage or peeling areas.

Successful tile installation depends more on substrate stability than surface appearance.
Paint Must Be Firmly Bonded
The paint layer becomes the foundation for the tile adhesive. If the paint peels, the entire tile system may fail.
A simple adhesion test helps evaluate the paint condition:
- Scratch the surface lightly
- Apply tape firmly
- Pull the tape away quickly
If paint comes off easily, removal is necessary before tiling.
Stable Wall Structures Matter
Even strong paint cannot compensate for weak walls.
Suitable wall surfaces include:
- Cement walls
- Drywall in dry areas
- Cement boards
- Properly prepared plaster walls
Damaged drywall or soft plaster may not support tile weight safely.
Moisture Conditions Are Important
Bathrooms and kitchens often contain hidden moisture issues.
Moisture behind painted walls can cause:
- Mold growth
- Paint blistering
- Adhesive failure
- Tile loosening
Walls must remain dry before installation begins.
Clean Surfaces Improve Bonding
Dust, grease, and soap residue weaken tile adhesive.
Proper cleaning usually includes:
- Degreasing
- Dust removal
- Surface drying
Kitchen walls especially require careful cleaning because cooking oils reduce bonding strength.
Flatness Helps Tile Alignment
Uneven painted walls create:
- Hollow tiles
- Uneven grout joints
- Adhesive gaps
Installers often patch low spots before tiling starts.
Paint Type Influences Bonding
Different paints react differently to tile adhesive.
| Paint Type | Tiling Suitability |
|---|---|
| Matte paint | Better |
| Satin paint | Moderate |
| Gloss paint | Poor without sanding |
| Oil-based paint | Higher risk |
| Peeling paint | Unsuitable |
Glossy and oil-based coatings usually need additional preparation.
Heavy Tile Weight Requires Extra Care
Large-format tiles place more stress on painted surfaces.
For heavier tiles such as:
- 600x1200 mm porcelain
- Large marble-look slabs
- Thick decorative panels
Installers often prefer removing paint completely or using stronger surface preparation methods.
Real Installation Example
In one apartment kitchen renovation, small ceramic backsplash tiles were installed directly over old glossy paint without proper preparation. Several months later, sections of tile loosened because the adhesive bonded to the paint layer instead of the wall beneath.
After sanding and priming the surface correctly, the replacement installation remained stable.
The wall behind the tile matters more than the tile itself.
How Can Sanding Improve Tile Adhesion on Paint?
Smooth painted walls may look clean, but many tile adhesives struggle to grip glossy or sealed paint surfaces properly. Sanding helps create a rougher texture for stronger bonding.
Sanding improves tile adhesion by roughening the painted surface, removing weak coatings, reducing gloss, and creating better mechanical grip for tile adhesives.
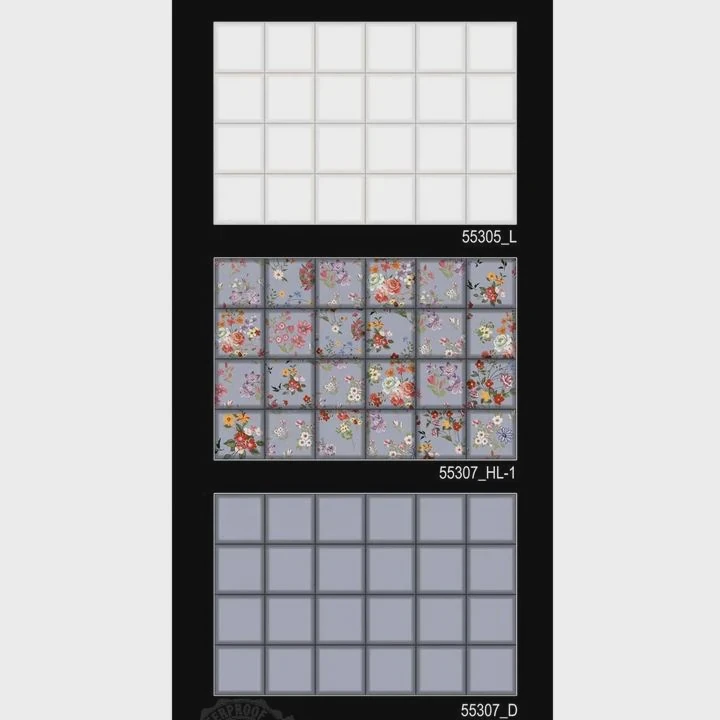
Surface texture plays a major role in adhesive performance.
Why Smooth Paint Causes Problems
Tile adhesive bonds more effectively to rough and porous surfaces.
Glossy paint creates:
- Low surface grip
- Reduced absorption
- Weak mechanical bonding
Without sanding, the adhesive may sit on top of the paint instead of gripping firmly.
Sanding Creates Surface Texture
Sanding scratches the paint surface lightly. These micro-abrasions help adhesive lock onto the wall more effectively.
This process improves:
- Adhesive grip
- Bond strength
- Long-term durability
Common Sanding Tools
Several tools work for wall preparation:
| Tool | Best Use |
|---|---|
| Sandpaper | Small areas |
| Orbital sander | Medium walls |
| Sanding block | Corners and edges |
| Pole sander | Large vertical surfaces |
Medium-grit sandpaper often works well for paint preparation.
Remove Loose Paint During Sanding
Sanding also reveals weak areas hidden beneath the surface.
Signs of weak paint include:
- Flaking
- Bubbling
- Peeling
- Soft spots
These areas should be removed completely before tiling.
Dust Removal After Sanding
Dust left on the wall weakens adhesive bonding.
After sanding:
- Vacuum the wall
- Wipe with damp cloth
- Allow complete drying
Clean preparation improves installation reliability.
Sanding Does Not Fix Structural Problems
Sanding improves surface texture but does not repair:
- Water damage
- Weak drywall
- Mold issues
- Structural movement
Underlying wall problems still require repair before tiling.
Primers May Still Be Needed
Some installers apply bonding primers after sanding.
Primers help:
- Increase adhesion
- Stabilize dusty surfaces
- Improve thin-set performance
This is especially useful on older painted walls.
Large Tile Installations Need Stronger Bonds
Large-format porcelain tiles place more tension on wall surfaces.
For heavy tile systems, sanding becomes even more important because:
- Adhesive coverage must remain consistent
- Bond strength requirements increase
- Failure risk becomes more expensive
Real-World Observation
In one commercial restroom project, workers lightly sanded painted drywall before installing porcelain wall tiles. The roughened surface improved adhesive grip significantly compared to untreated painted areas tested earlier.
Small preparation steps often make large differences in long-term tile stability.
Why Remove Glossy Paint Before Tiling?
Glossy paint creates one of the biggest bonding problems during tile installation. Even strong adhesives may struggle to attach securely to shiny painted surfaces.
Glossy paint should be removed or heavily sanded before tiling because its smooth and sealed surface reduces adhesive grip and increases the risk of tile failure.
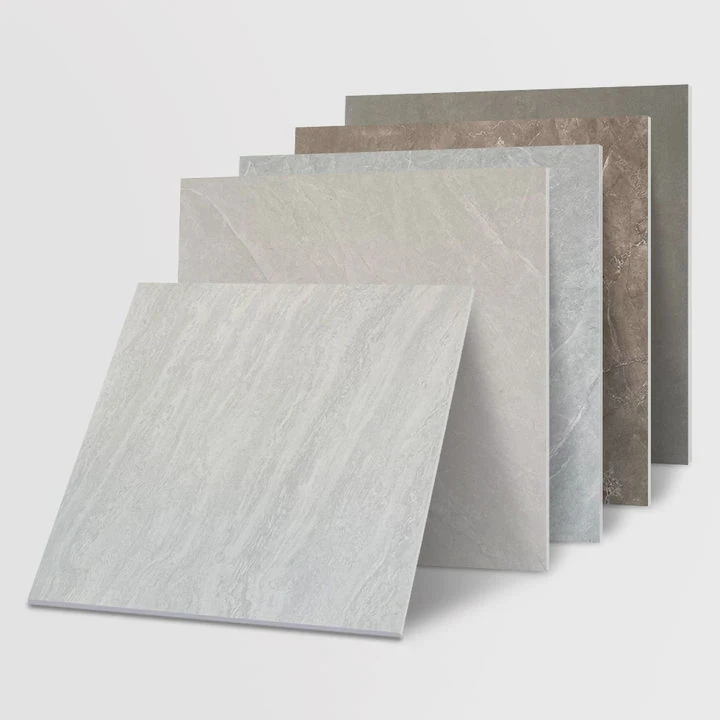
Many installation failures happen because the adhesive bonds to the paint surface instead of the wall structure beneath it.
Glossy Paint Is Designed to Resist Bonding
Gloss paint is made to repel moisture and stains. This same feature also limits adhesive attachment.
The surface becomes:
- Smooth
- Non-porous
- Slippery
- Difficult for mortar to grip
Adhesive Needs Mechanical Grip
Thin-set mortar performs best when it can penetrate small pores or textures.
Glossy coatings prevent this mechanical locking process.
As a result:
- Tiles may shift
- Bond strength weakens
- Long-term durability decreases
Sanding vs Full Removal
Some glossy surfaces only need aggressive sanding. Others require full paint removal.
The decision depends on:
- Paint condition
- Tile size
- Moisture exposure
- Wall type
Situations Requiring Full Removal
Complete paint removal is often safer when:
- Paint is peeling
- Multiple paint layers exist
- Heavy tiles are used
- Wet areas are involved
Bathrooms and showers carry higher failure risk because moisture increases stress on the bond.
Chemical Paint Removers
Some installers use paint removers instead of sanding.
Still, chemical stripping requires careful cleaning afterward because residue may weaken tile adhesive.
Surface Preparation Comparison
| Surface Type | Adhesion Quality |
|---|---|
| Bare cement board | Excellent |
| Sanded matte paint | Good |
| Sanded gloss paint | Moderate |
| Untreated gloss paint | Poor |
| Peeling paint | Very poor |
This is why many professionals avoid direct installation over glossy coatings whenever possible.
Gloss Paint and Moisture Problems
Bathrooms expose walls to:
- Steam
- Condensation
- Cleaning chemicals
Moisture may weaken the bond between glossy paint and wall surfaces over time.
Even if the tile adhesive initially holds, the paint layer itself may separate later.
High-End Tile Projects Require Better Preparation
Premium porcelain slabs and large decorative wall tiles involve higher replacement costs.
For these projects, stronger substrate preparation reduces future repair risk.
Real Installation Failure Example
One residential bathroom used large wall tiles over glossy painted drywall without sanding. After repeated steam exposure, several tiles loosened because the adhesive remained attached to the paint layer while the paint detached from the wall.
After removing the glossy coating and installing cement backer board, the second installation performed successfully.
Proper preparation protects both the tile and the investment.
Which Risks Come With Tiling Over Painted Surfaces?
Installing tile over paint can save demolition time, but it also introduces several risks if preparation is incomplete or the painted surface is unstable.
The main risks of tiling over painted surfaces include adhesive failure, peeling paint, tile loosening, moisture damage, cracking, and reduced long-term durability.
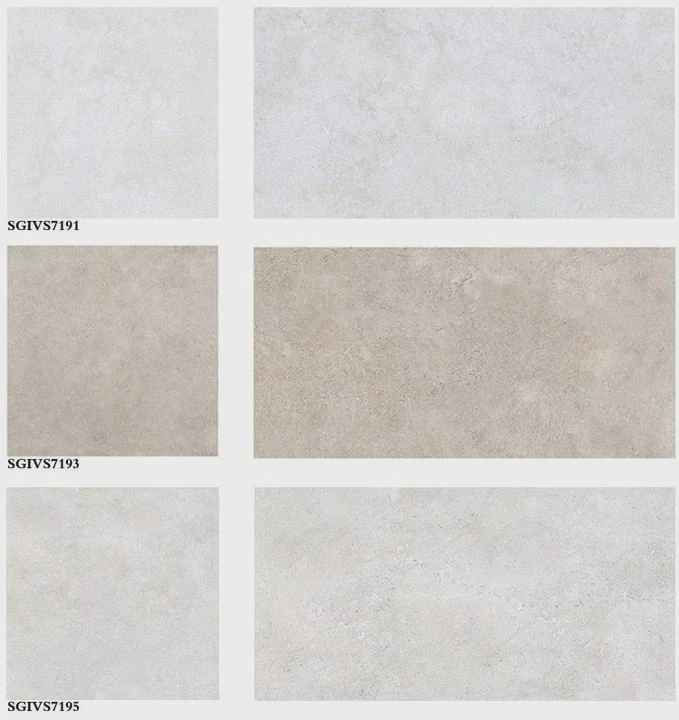
Understanding these risks helps installers decide whether surface preparation is sufficient.
Weak Paint Layers Cause Failure
The biggest risk is not the adhesive itself. The real problem is often the paint layer beneath the adhesive.
If the paint loses adhesion:
- Tiles loosen
- Grout cracks
- Entire sections may detach
Moisture Increases Failure Risk
Bathrooms, kitchens, and laundry rooms create humid conditions.
Moisture may weaken:
- Paint adhesion
- Wall structure
- Tile bonding
Wet areas require stronger waterproofing systems.
Heavy Tiles Increase Stress
Large-format tiles place greater weight on walls.
This increases:
- Pulling force
- Shear stress
- Bond pressure
Weak painted surfaces may fail under heavy tile loads.
Poor Surface Texture Reduces Bonding
Smooth glossy paint prevents proper mortar grip.
Without sanding or priming:
- Adhesion weakens
- Tiles may slide during installation
- Long-term durability decreases
Hidden Damage Becomes Harder to Detect
Paint can hide:
- Moisture damage
- Mold
- Drywall weakness
- Surface cracks
Installing tile over damaged walls may trap problems beneath the surface.
Repairs Become More Difficult
Failed tile over paint often requires:
- Tile removal
- Adhesive removal
- Paint stripping
- Wall reconstruction
Repair costs may become much higher than proper preparation at the beginning.
Risk Comparison
| Risk Type | Properly Prepared Surface | Poorly Prepared Surface |
|---|---|---|
| Adhesive strength | Strong | Weak |
| Moisture resistance | Better | Lower |
| Tile longevity | Longer | Shorter |
| Crack risk | Lower | Higher |
| Repair likelihood | Reduced | Increased |
Professional Preparation Reduces Problems
Many successful installations over painted surfaces follow strict preparation methods:
- Sanding
- Cleaning
- Priming
- Moisture inspection
- Stability testing
Skipping these steps increases long-term failure risk.
Commercial and Residential Differences
Commercial projects often require stronger substrate standards because:
- Traffic is heavier
- Maintenance expectations are higher
- Liability risks increase
Residential projects may allow more flexibility, but preparation still remains critical.
Long-Term Performance Matters Most
Short-term installation speed should never outweigh long-term durability.
A properly prepared wall supports:
- Better tile alignment
- Stronger adhesion
- Reduced maintenance
- Longer service life
Careful preparation protects both appearance and structural performance.
Conclusion
Tiles can be installed over painted surfaces when the wall is stable, clean, and properly prepared. Sanding, removing glossy coatings, and checking surface strength are essential steps that improve adhesion and reduce long-term installation risks.


