
How to Apply Tile to Drywall?
- Sinotiles
- 2026-05-28

Many tile installation problems start with poor wall preparation. Loose tiles, cracked grout, and uneven surfaces often appear after a short time.
To apply tile to drywall, the surface must be clean, stable, and properly prepared. Adhesive should be spread evenly, tiles aligned carefully, and wet areas avoided unless waterproof protection is added.
Drywall can support many interior tile projects when the correct installation process is followed. Good preparation and careful installation help create strong and durable tile surfaces.
What Preparation Is Needed Before Tiling Drywall?
Many people install tiles directly onto dirty or damaged drywall. This often leads to weak adhesion and future tile failure.
Before tiling drywall, the surface should be cleaned, repaired, leveled, and checked for stability. Sanding glossy paint and removing dust also improve tile adhesion.
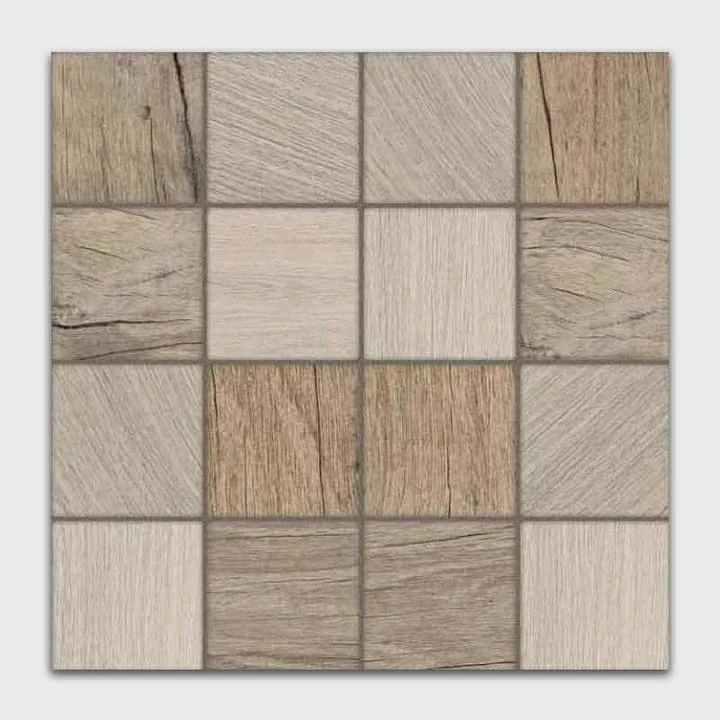
Preparation is one of the most important parts of tile installation. Even high-quality tiles and adhesive may fail if the drywall surface is not properly prepared.
Check the Condition of the Drywall
Drywall must be solid and secure before tiles are installed.
Inspect the wall for:
- Cracks
- Loose sections
- Water damage
- Mold
- Soft spots
Damaged drywall should always be repaired or replaced before tiling begins.
Remove Dust and Dirt
Clean surfaces improve adhesive bonding.
Before tiling:
- Remove dust
- Wipe away grease
- Clean soap residue
- Eliminate loose particles
Kitchen walls often require degreasing because cooking oils reduce adhesive strength.
Sand Glossy Painted Walls
Painted drywall may have a glossy finish that prevents strong tile adhesion.
Light sanding helps:
- Remove surface shine
- Improve grip
- Increase adhesive bonding
Fine-grit sandpaper usually works well for this step.
Repair Uneven Areas
Uneven walls create installation problems later.
Common issues include:
- Dents
- Holes
- Raised joints
- Poor drywall seams
These areas should be filled and smoothed before tile installation starts.
Prime the Surface if Necessary
Some drywall surfaces benefit from primer before tiling.
Primer may help:
- Reduce dust
- Improve bonding
- Control moisture absorption
This step becomes more important on repaired or highly porous surfaces.
Check Wall Strength
Tiles add significant weight to drywall.
Heavy materials like:
- Large porcelain slabs
- Natural stone
- Thick ceramic tiles
may require stronger wall support.
Lightweight wall tiles usually perform better on standard drywall surfaces.
Gather the Necessary Tools
Preparation becomes easier with the right tools.
| Tool | Purpose |
|---|---|
| Level | Check wall alignment |
| Sandpaper | Remove gloss |
| Putty knife | Repair wall damage |
| Sponge | Surface cleaning |
| Tape measure | Tile layout planning |
Professional installers usually prepare all tools before adhesive mixing begins.
Why Proper Preparation Matters
Poor preparation often causes:
- Loose tiles
- Uneven surfaces
- Cracked grout
- Tile movement
- Adhesive failure
Careful wall preparation improves both durability and final appearance.
How Can Adhesive Be Applied on Drywall Surfaces?
Incorrect adhesive application often creates hollow spots and weak tile bonding. This can lead to tiles falling off over time.
Tile adhesive should be spread evenly on drywall using a notched trowel. Small sections should be covered at a time to prevent the adhesive from drying before tile placement.
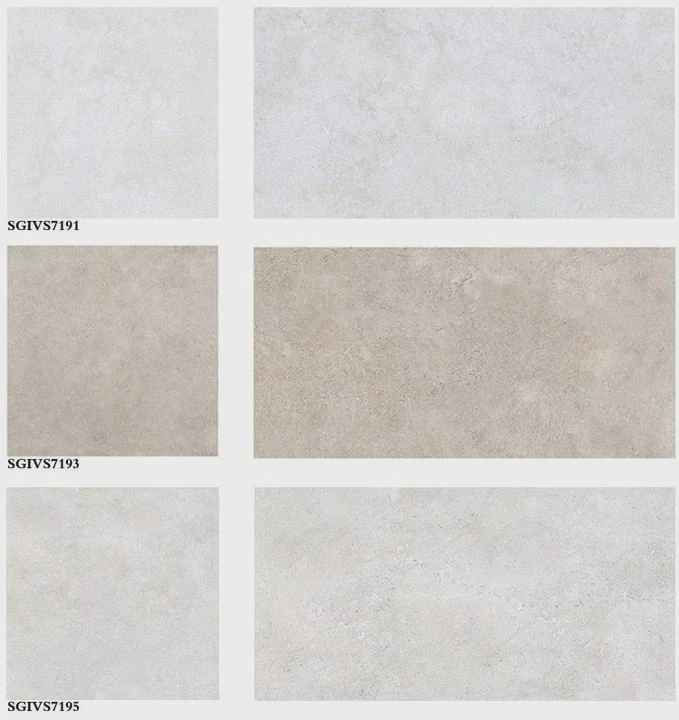
Adhesive application directly affects tile strength and alignment. Proper technique helps create full contact between the tile and drywall surface.
Choose the Right Adhesive
Not all adhesives work well on drywall.
Common options include:
- Thin-set mortar
- Premixed mastic
- Polymer-modified adhesive
Thin-set mortar is often preferred for:
- Ceramic tile
- Porcelain tile
- Larger wall tiles
Mastic may work for smaller and lighter wall tiles in dry areas.
Mix Adhesive Properly
Powder-based adhesives require careful mixing.
The mixture should:
- Spread smoothly
- Hold shape
- Avoid excessive water
Overly thin adhesive weakens bonding strength.
Professional installers usually follow manufacturer instructions carefully.
Use the Correct Trowel Size
Different tiles require different trowel notch sizes.
| Tile Size | Recommended Trowel |
|---|---|
| Small mosaic | 3⁄16 inch |
| 300x600mm tile | 1⁄4 inch |
| Large format tile | 1⁄2 inch |
Larger tiles need more adhesive coverage.
Spread Adhesive Evenly
The adhesive should be applied in one direction using the notched side of the trowel.
This method helps:
- Remove air pockets
- Improve tile contact
- Increase adhesion
Uneven adhesive may create weak spots behind tiles.
Work in Small Sections
Tile adhesive dries quickly once exposed to air.
Installers usually spread adhesive over:
- Small wall sections
- Areas that can be tiled quickly
This prevents surface drying before tile placement.
Back Butter Large Tiles
Large-format tiles often require adhesive on both:
- Wall surface
- Back of the tile
This process is called back buttering.
It improves:
- Adhesion
- Weight support
- Coverage consistency
Large porcelain tiles benefit greatly from this method.
Check Tile Coverage
After placing several tiles, one tile should be removed occasionally for inspection.
Good coverage helps avoid:
- Hollow sounds
- Weak bonding
- Tile cracking
Professional installers often aim for nearly full adhesive contact in wall installations.
Why Adhesive Quality Matters
Low-quality adhesive may lead to:
- Tile slipping
- Weak bonding
- Cracked grout
- Early failure
Using the correct adhesive system improves long-term durability and installation stability.
Why Avoid Tiling Drywall in Wet Areas?
Many people install tiles on regular drywall inside showers or constantly wet spaces. This often creates moisture damage behind the tiles.
Drywall is not ideal for wet areas because moisture can weaken the material and cause mold, swelling, and tile failure. Cement board or waterproof systems perform better in high-moisture environments.
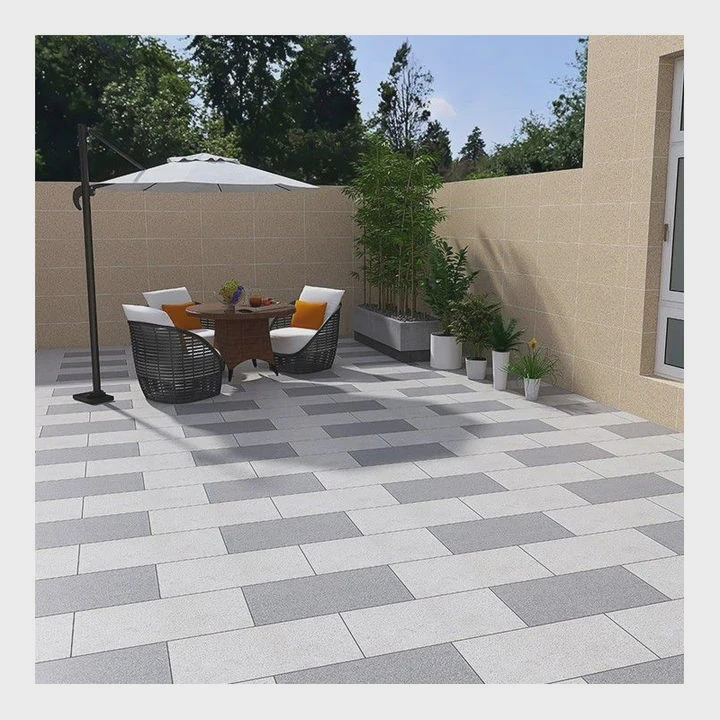
Tile itself resists water well. However, grout lines and small gaps may still allow moisture to reach the wall behind the tile surface.
Standard Drywall Absorbs Moisture
Regular drywall contains gypsum, which absorbs water easily.
When exposed to moisture:
- The wall softens
- Mold may develop
- Tile adhesion weakens
- Structural damage may occur
This becomes especially dangerous inside showers and steam rooms.
Water Can Enter Through Grout Lines
Even properly installed grout is not completely waterproof.
Over time:
- Small cracks may appear
- Moisture may penetrate
- Water may collect behind tiles
Without waterproof backing, drywall can deteriorate slowly behind the surface.
Green Board Is Not Fully Waterproof
Some people use moisture-resistant drywall, often called green board.
While it offers:
- Better humidity resistance
- Slight moisture protection
it is still not fully waterproof for direct wet exposure.
Many building codes no longer recommend green board inside shower enclosures.
Better Alternatives for Wet Areas
Professional installers often prefer:
- Cement board
- Waterproof foam board
- Waterproof membranes
These systems provide stronger protection in:
- Showers
- Steam rooms
- Commercial bathrooms
Wet Areas Require Waterproofing
Proper waterproofing helps prevent:
- Mold growth
- Wall damage
- Tile failure
- Costly repairs
Waterproof systems usually include:
- Membranes
- Sealed joints
- Waterproof sealants
Drywall Works Better in Dry Interior Areas
Drywall performs well for tiled surfaces in:
- Kitchen backsplashes
- Fireplace surrounds
- Bathroom walls outside showers
- Decorative feature walls
These locations face much lower moisture exposure.
Long-Term Repair Costs Can Be High
Moisture damage behind tiles often remains hidden for years.
Possible repair costs include:
- Tile removal
- Wall replacement
- Mold remediation
- Waterproofing upgrades
Proper substrate selection helps avoid these expensive repairs.
Why Professionals Avoid Risk
Experienced installers understand that moisture is one of the biggest threats to tile durability.
Using proper waterproof backing materials improves:
- Project lifespan
- Customer satisfaction
- Structural protection
This becomes especially important in hotels, apartments, and commercial projects.
Which Steps Ensure Secure Tile Installation on Drywall?
Tiles may look strong at first, but poor installation methods often create problems later. Secure installation depends on careful technique from start to finish.
Secure tile installation on drywall requires accurate layout planning, proper adhesive coverage, careful tile placement, correct spacing, and sufficient curing time before grouting.
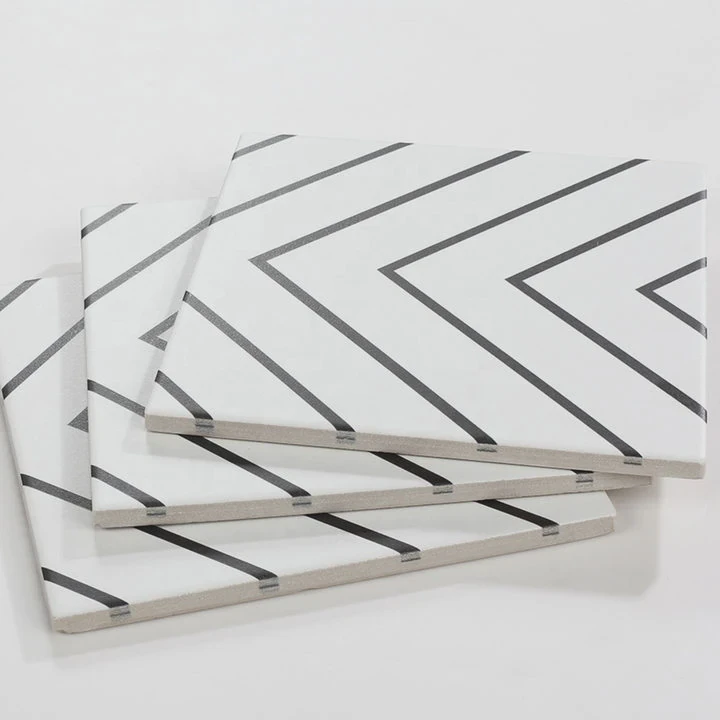
Every installation step affects final tile durability. Careful workmanship helps reduce future maintenance problems.
Step 1: Plan the Tile Layout
Good layout planning improves appearance and reduces uneven cuts.
Before installation:
- Measure wall dimensions
- Mark center lines
- Test tile alignment
- Adjust edge cuts
Balanced layouts usually create more professional results.
Step 2: Apply Adhesive Correctly
Adhesive should be spread evenly with the correct trowel.
Avoid:
- Thick adhesive buildup
- Dry adhesive skin
- Uneven coverage
Consistent adhesive improves tile stability.
Step 3: Press Tiles Firmly into Place
Tiles should be pressed and slightly twisted into the adhesive.
This helps:
- Remove trapped air
- Improve bonding
- Level the tile surface
Tile spacers help maintain even grout joints.
Step 4: Check Alignment Frequently
Installers should regularly check:
- Level lines
- Tile spacing
- Surface flatness
Small alignment mistakes become very noticeable after installation progresses.
Step 5: Allow Adhesive to Cure
Fresh tile installations need proper curing time.
Moving tiles too early may cause:
- Tile shifting
- Weak bonding
- Uneven grout lines
Most adhesives require at least 24 hours before grouting.
Step 6: Apply Grout Carefully
Grout fills joints and helps stabilize the installation.
Proper grouting helps:
- Protect tile edges
- Improve appearance
- Reduce moisture penetration
Excess grout should be cleaned before it hardens completely.
Common Installation Mistakes
| Mistake | Result |
|---|---|
| Poor wall preparation | Weak adhesion |
| Uneven adhesive | Hollow tiles |
| Incorrect spacing | Crooked layout |
| Early grouting | Tile movement |
| No curing time | Weak installation |
Avoiding these mistakes improves installation quality.
Proper Installation Extends Tile Lifespan
Well-installed tiles can remain durable for many years.
Good installation improves:
- Surface stability
- Moisture resistance
- Appearance
- Maintenance performance
This becomes very important in both residential and commercial projects.
Conclusion
Applying tile to drywall requires careful preparation, proper adhesive use, and correct installation techniques. Drywall works well in dry interior spaces, but wet areas require waterproof systems for long-term durability and protection against moisture damage.



